
Crochet basket with animal face - Fox, Raccoon or Bear
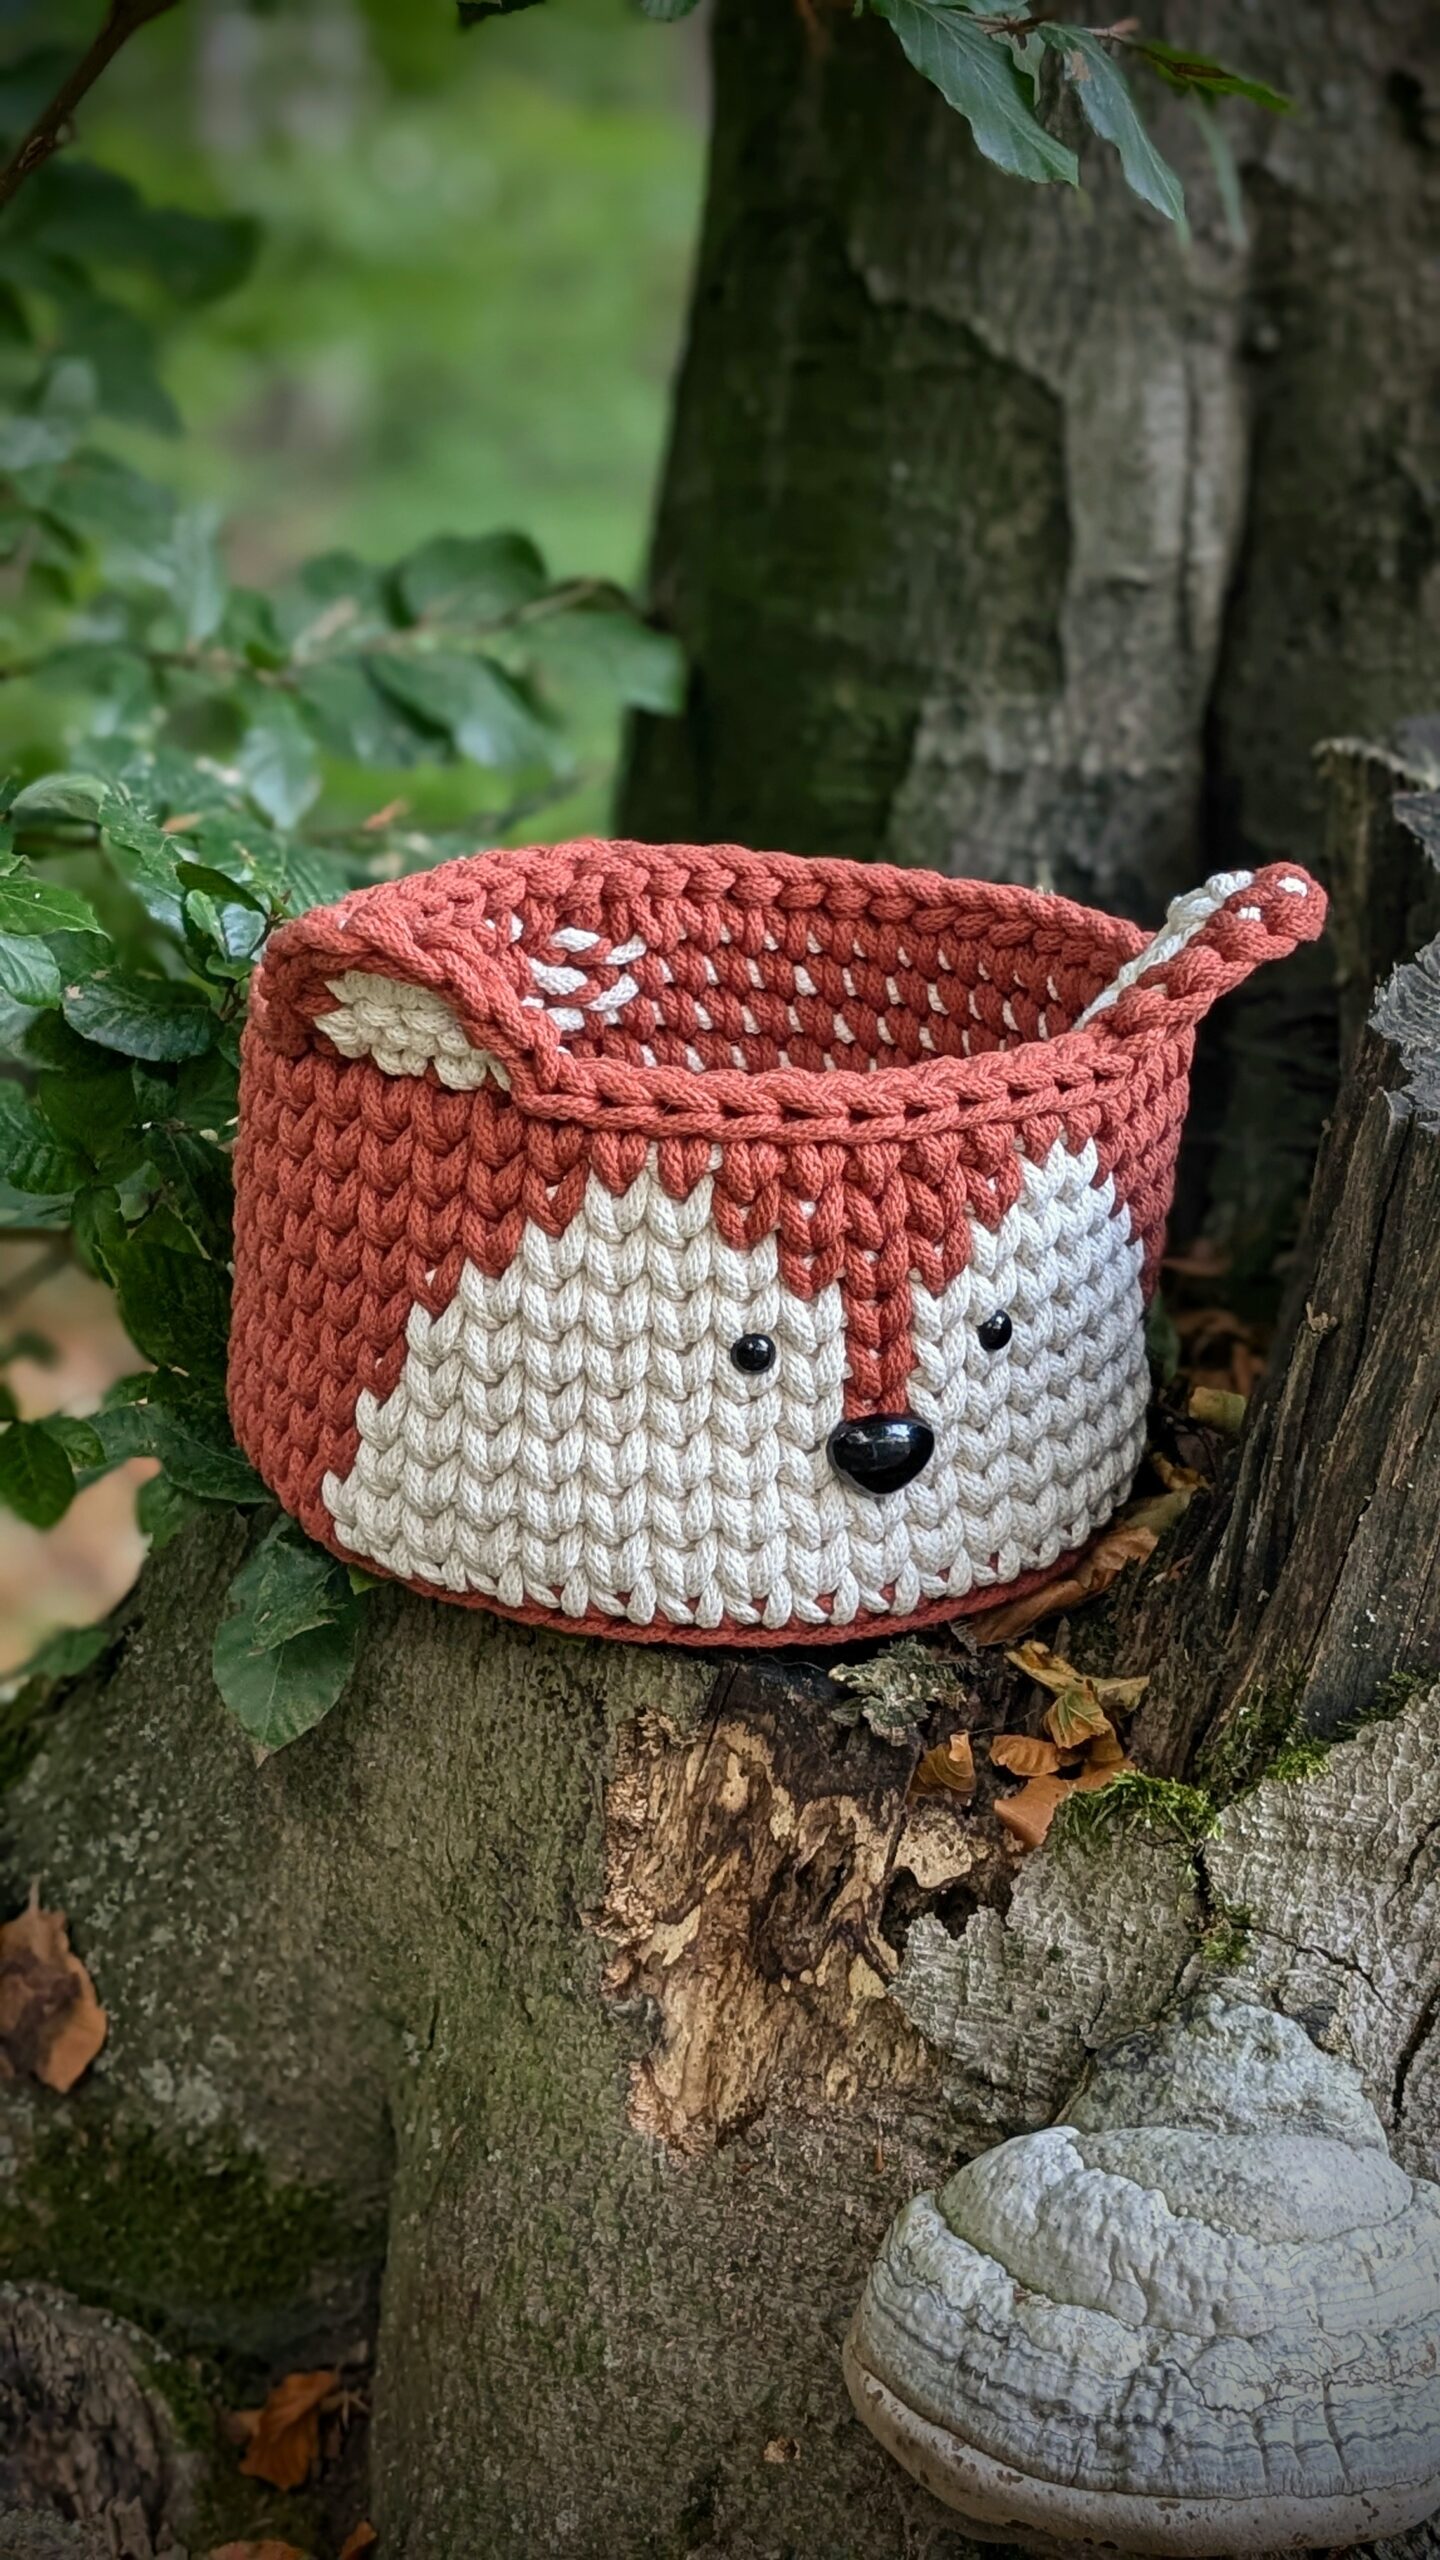
This tutorial is prepared for fox, but the same steps you can use for all animals, just use different scheme.
This pattern is suitable even for beginners. The entire basket is crocheted using single crochet stitches in a "split stitch" pattern.
The base of the basket is a wooden bottom with a diameter of 20 cm. This size has 46 holes, and the fox face design is adjusted accordingly. If you use a different size in the future—especially a smaller one—you will need to modify the pattern and shorten the white section.
What You’ll Need?
Everything is included in our DIY set, except where noted:
- 5mm BIGcord cord in Terracotta
- 5mm BIGcord in Elderflower White
- 2 safety eyes
- 1 safety nose
- Wooden bottom (20 cm diameter)
- Crochet hook size 6
- Hot glue gun for attaching the eyes and nose (not included)
Abbreviations:
- SC – single crochet
- T – terracotta
- W – white (elderflower)
We will alternate between these two colors and mark them with corresponding letters to indicate which yarn to use. Some parts of the crochet process, especially row transitions and finishing, are difficult to describe in words. Therefore, we refer to a video tutorial - Part1, Part2
HOW TO CROCHET IT?
Part 1 – Preparing the Base
1. (T) Crochet a round of slip stitches around the wooden base (see video) to cover the holes.
2. (T) Crochet SC around the base, making 1 SC per hole. In the 13th and 36th holes, crochet 2 SC in one hole. Finish the row as shown in the video (48 stitches total).
3. (T) Crochet SC into the back loop only. Add (W) and carry it along inside your stitches: (T) 15 SC, changing to white in the last loop of the 15th stitch (see video).(W) 19 SC, carrying terracotta inside. Change color in the last loop(T) 13 SC, finish the row according to the video.
4. Continue with split stitches (see video): (T) 15 SC, (W) 19 SC, (T) 13 SC (always switch colors in the last loop).
5. (T) 16 SC, (W) 17 SC, (T) 14 SCFollow the colorwork chart: The entire basket, except the white parts in the design, will be terracotta.
👀 Eyes (O) & Nose (N)
Part 2 – Face Details & Ears
6. (T) 16 SC, (W) 8 SC, (T) 1 SC (this is where the nose will be attached), (W) 8 SC, (T) 14 SC.
7. (T) 17 SC, (W) 7 SC, (T) 1 SC, (W) 7 SC, (T) 15 SC.
8. (T) 18 SC, (W) 6 SC, (T) 1 SC, (W) 6 SC, (T) 16 SC.
9. (T) 19 SC, (W) 4 SC, (T) 3 SC, (W) 4 SC, (T) 17 SC.
10. (T) 20 SC, (W) 2 SC, (T) 5 SC, (W) 2 SC, (T) 18 SC.
11. (T) 48 SC. (If you want a taller basket, you can add another row of terracotta; there is enough material.)
Crocheting the Ears
12. Cut off the white yarn. The ears are crocheted without the split stitch pattern, using regular SC under both loops: Follow the chart or video: Crochet 4 SC, turn. Crochet 3 SC, turn. Crochet 2 SC, cut the yarn, and finish. Repeat for the second ear (video).
(T) Crochet a final row of slip stitches around the basket edge. When reaching the ears, shape them into a pointed tip (see video): 3 SC, 2 SC at the ear tip, 3 SC, then continue with slip stitches until the next ear. Again, 3 SC, 2 SC at the tip, 3 SC, then finish the row.
Raccoon
Bear