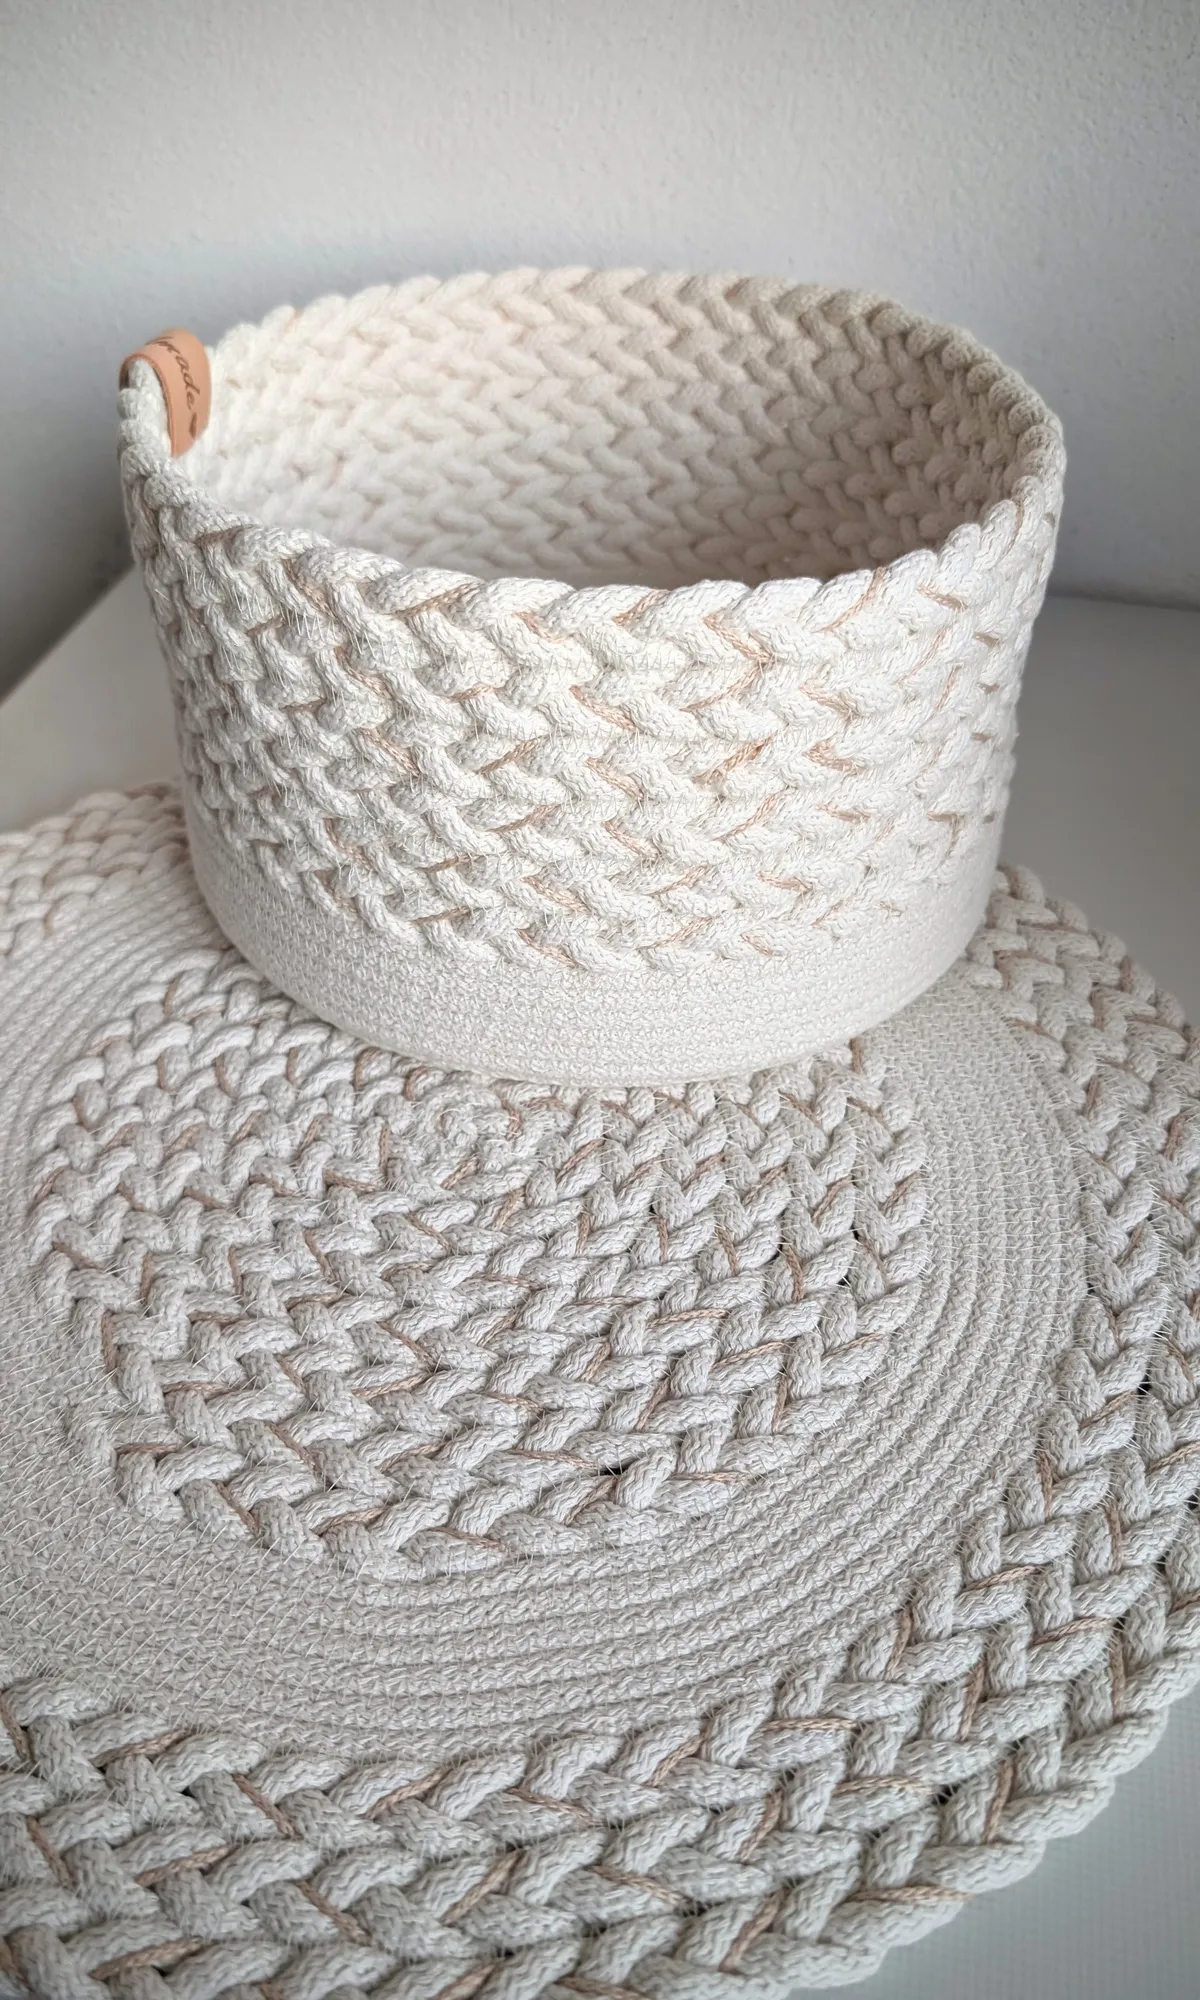




Elegant Braided Cord Placemat – Sewing Tutorial
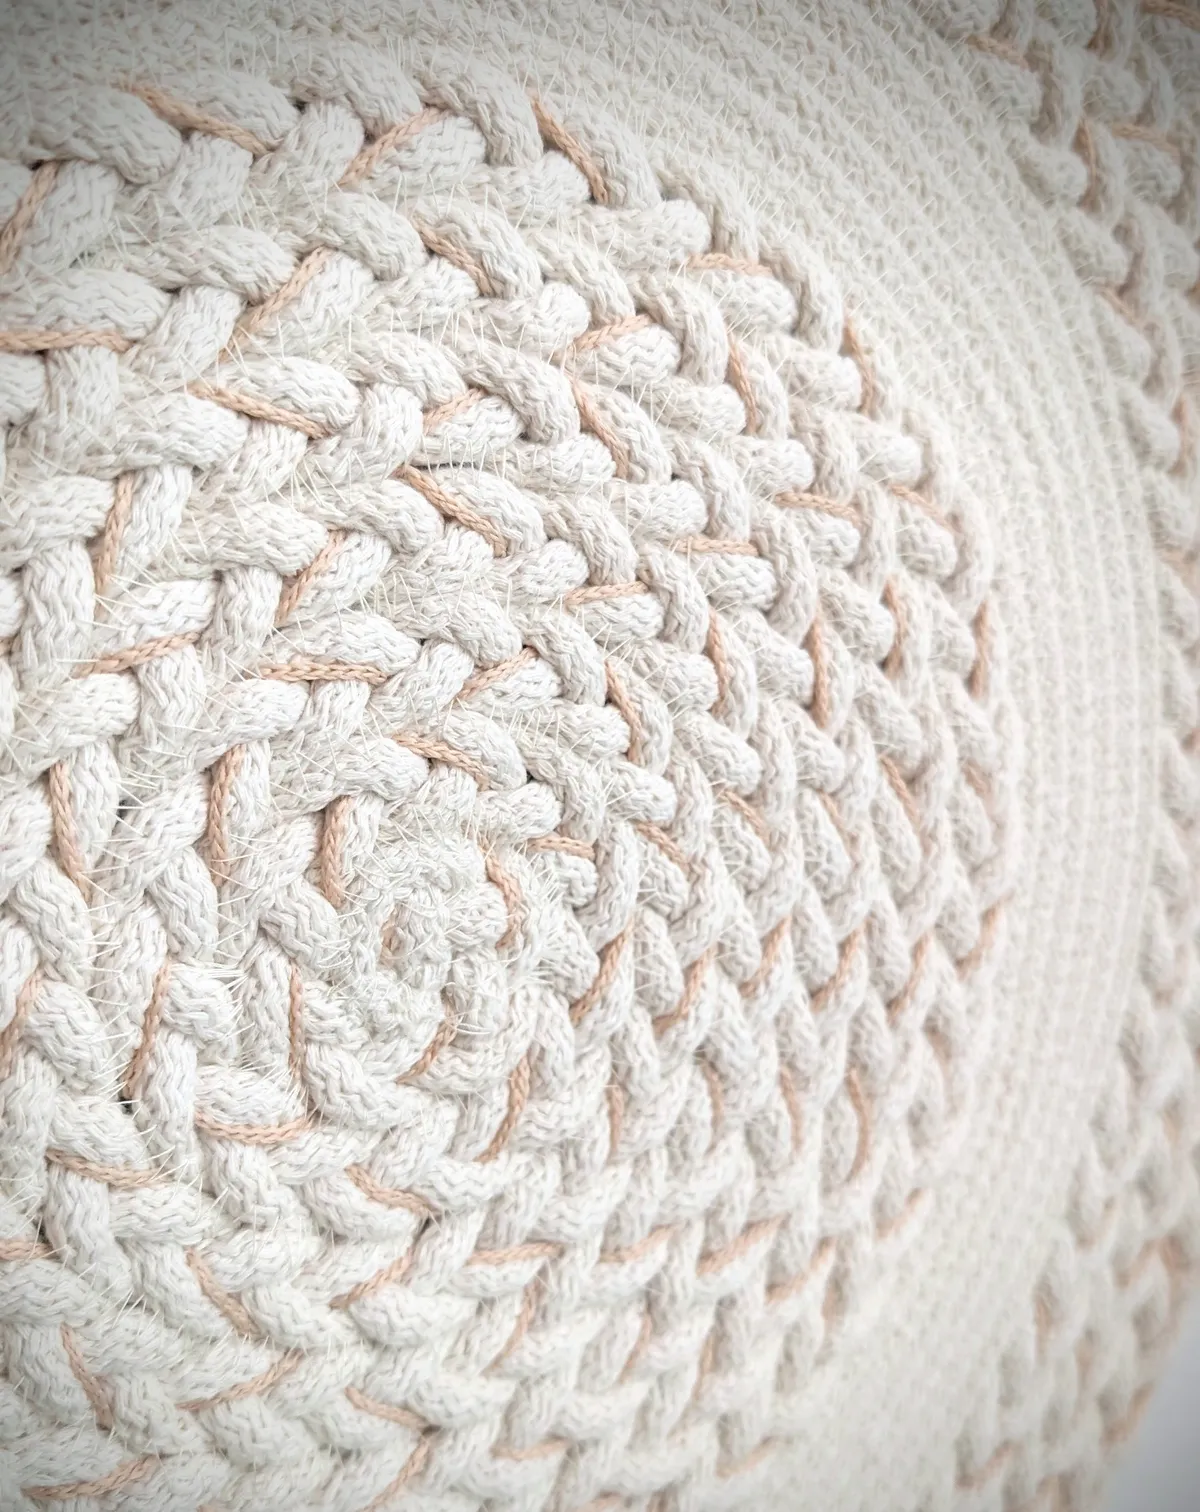
Learn how to sew an elegant 38 cm placemat from BIGcord 6 mm sewing cord. This detailed project combines a decorative three-strand braid with smooth cord sections and is finished entirely with a zigzag stitch. It takes patience and careful sewing, but the final result is absolutely worth the effort.
This braided cord placemat sewing tutorial shows you how to create an elegant and distinctive table decoration using BIGcord 6 mm sewing cord. The finished placemat measures approximately 38 cm (15 inches) in diameter and uses about 26 metres (85 ft) of sewing cord.
This is not a quick beginner project. The decorative braid is thick, the individual sections must be joined carefully, and sewing through several layers may be demanding for some domestic sewing machines. However, if you enjoy detailed sewing projects, the finished placemat creates a beautiful and timeless table setting.
Watch the video tutorial
What you will need
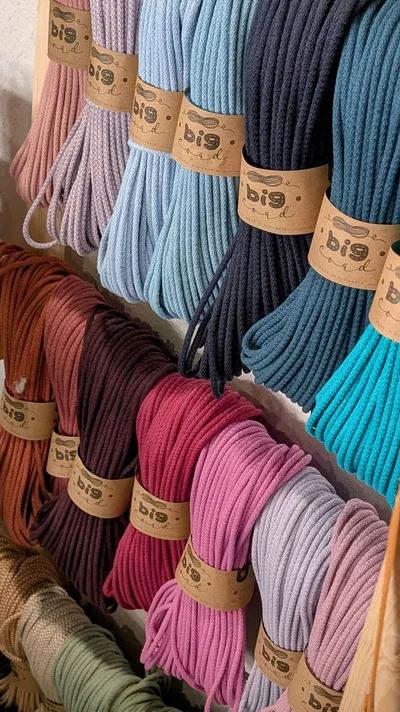
approximately 26 m of BIGcord 6 mm sewing cord
1.5 mm polyester cord in a beige or cappuccino shade
sewing machine with a zigzag stitch
strong sewing thread
scissors
patience and enough space for handling long cords
Finished size
The finished placemat measures approximately 38 cm in diameter. Our inner braided circle measures about 22 cm in diameter. You can change the ratio of braided and plain cord sections to create your own design.
Step-by-step instructions
Step 1 – Prepare the braid
Begin by braiding three strands of sewing cord, while weaving a thin beige cord into the braid. We used a 1.5 mm polyester cord in a cappuccino shade.
Ideally, the entire braid should be made from one continuous length of cord. However, this would require braiding three strands approximately 9 metres long, which can be difficult to handle. We were not able to complete the whole braid in one piece, so this tutorial also shows how to join the cords neatly.
Step 2 – Start the centre
Shape the braided cord into a small spiral to form the centre of the placemat. Begin sewing the braid together by attaching each new round with a zigzag stitch.
Sew slowly using a long, dense zigzag stitch. Make sure the needle catches both neighbouring edges so the spiral remains strong and flat.
Step 3 – Adjust your sewing machine
The braided cord becomes quite thick and bulky, so some sewing machines may have difficulty stitching through it.
If the bobbin thread starts tangling or forming loops underneath, reduce the presser foot pressure to the lowest suitable setting. Also loosen the upper thread tension as needed. In most cases, you do not need to adjust the bobbin thread tension.
Step 4 – Choose the size of the braided centre
The ratio of braided cord to plain sewing cord is entirely up to you. Our braided centre measures approximately 22 cm (8.7 inches) in diameter, but you can make it larger or smaller depending on the look you want to achieve.
Step 5 – Add the plain cord section
Continue with the section made from straight, unbraided cords. Sew each strand individually using a zigzag stitch, following the technique shown in the video.
We originally planned to make the plain section with six rounds. Because our cords were not long enough, we had to join them before continuing.
Step 6 – Join the cords
Pull out a small piece of the polyester core, then tuck the frayed cotton ends neatly inside the cord. Do the same with the end of the cord you are about to join.
Overlap the two prepared ends and sew them together with a zigzag stitch, exactly as shown in the video. Repeat the same process for all three strands.
Step 7 – Add the final braided rounds
Continue by braiding the cords again. We made three rounds of the braided section, but you can adjust the number of rounds to suit your preferred design.
Step 8 – Finish the placemat
Finish the cord ends as shown in the video, secure the final section carefully with a zigzag stitch, trim any loose threads, and your elegant handmade placemat is complete.
Sewing tips
Sew slowly, especially through the braided sections.
Use a wide, dense zigzag stitch that catches both neighbouring cords.
Do not pull or stretch the cord while sewing, as this may cause the placemat to wave.
Keep the work flat and support its weight so it does not pull away from the sewing machine.
Test the presser foot pressure and upper thread tension on a small sample before starting the final piece.
Why you will love this project
elegant and original table decoration
beautiful combination of braided and smooth textures
customisable size and pattern
no crochet skills required
a detailed handmade piece that is worth the time and effort
Frequently asked questions
How much sewing cord is needed for one placemat?
For a placemat approximately 38 cm in diameter, we used about 26 metres of 6 mm sewing cord.
Can I make the placemat from one continuous braid?
Yes, but you would need to work with three very long strands. For this size, each strand would be approximately 9 metres long, which can be difficult to braid and handle.
Is this project suitable for beginners?
This project is better suited to makers who already have some experience sewing with thick cord. The braid is bulky and the joining technique requires patience and precise zigzag stitching.
What stitch should I use?
Use a long, dense zigzag stitch and make sure it catches both adjoining cords evenly.
Love this style? Sew a matching Elegant Rope Basket with our step-by-step tutorial. - HERE