



How to Sew an Elegant Rope Basket with a Braided Detail
Learn how to sew an elegant rope basket with a decorative braided detail using BIGcord 6 mm sewing cord. This step-by-step tutorial shows the complete process, from sewing the coiled base to shaping the basket and attaching the braid.
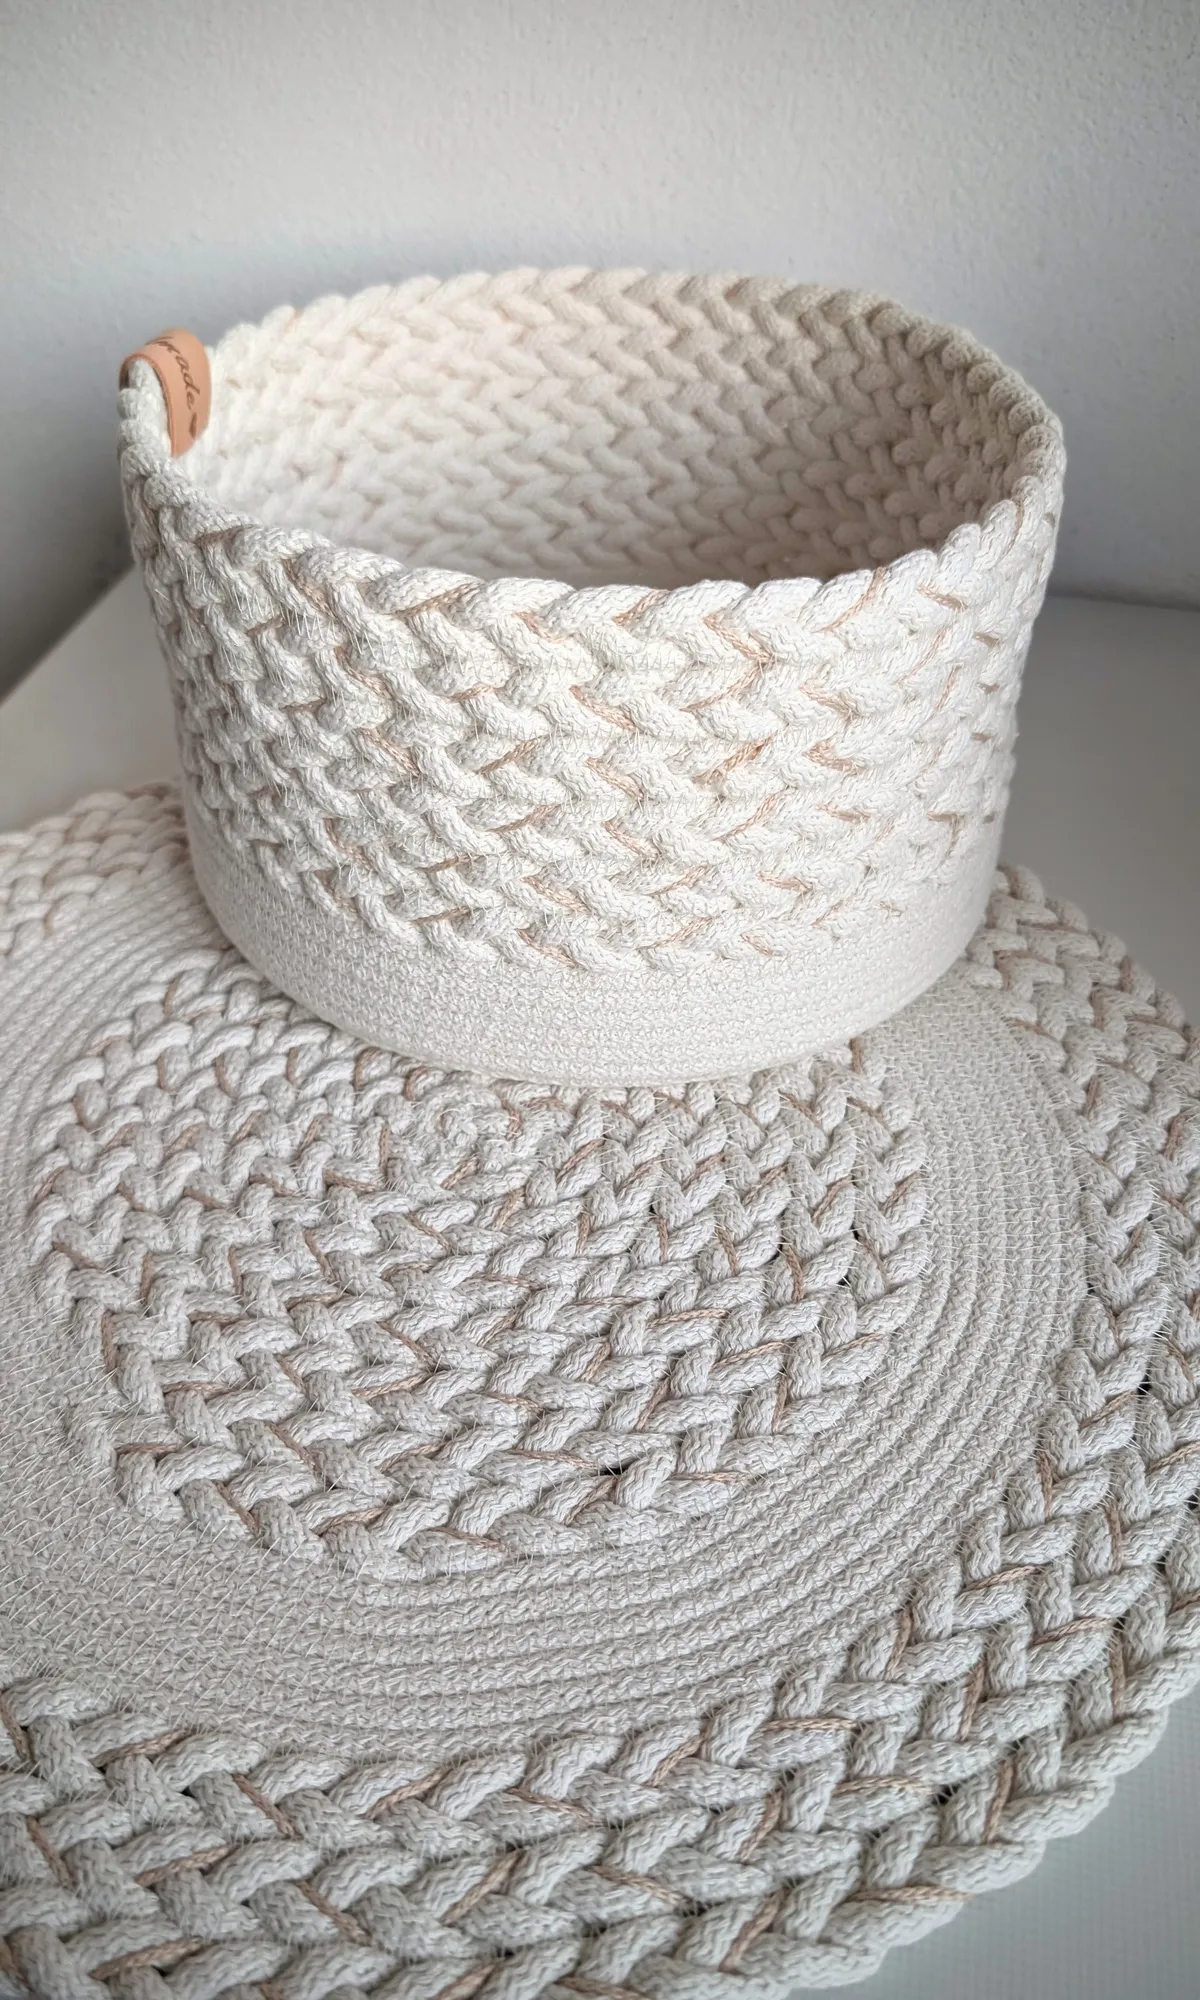
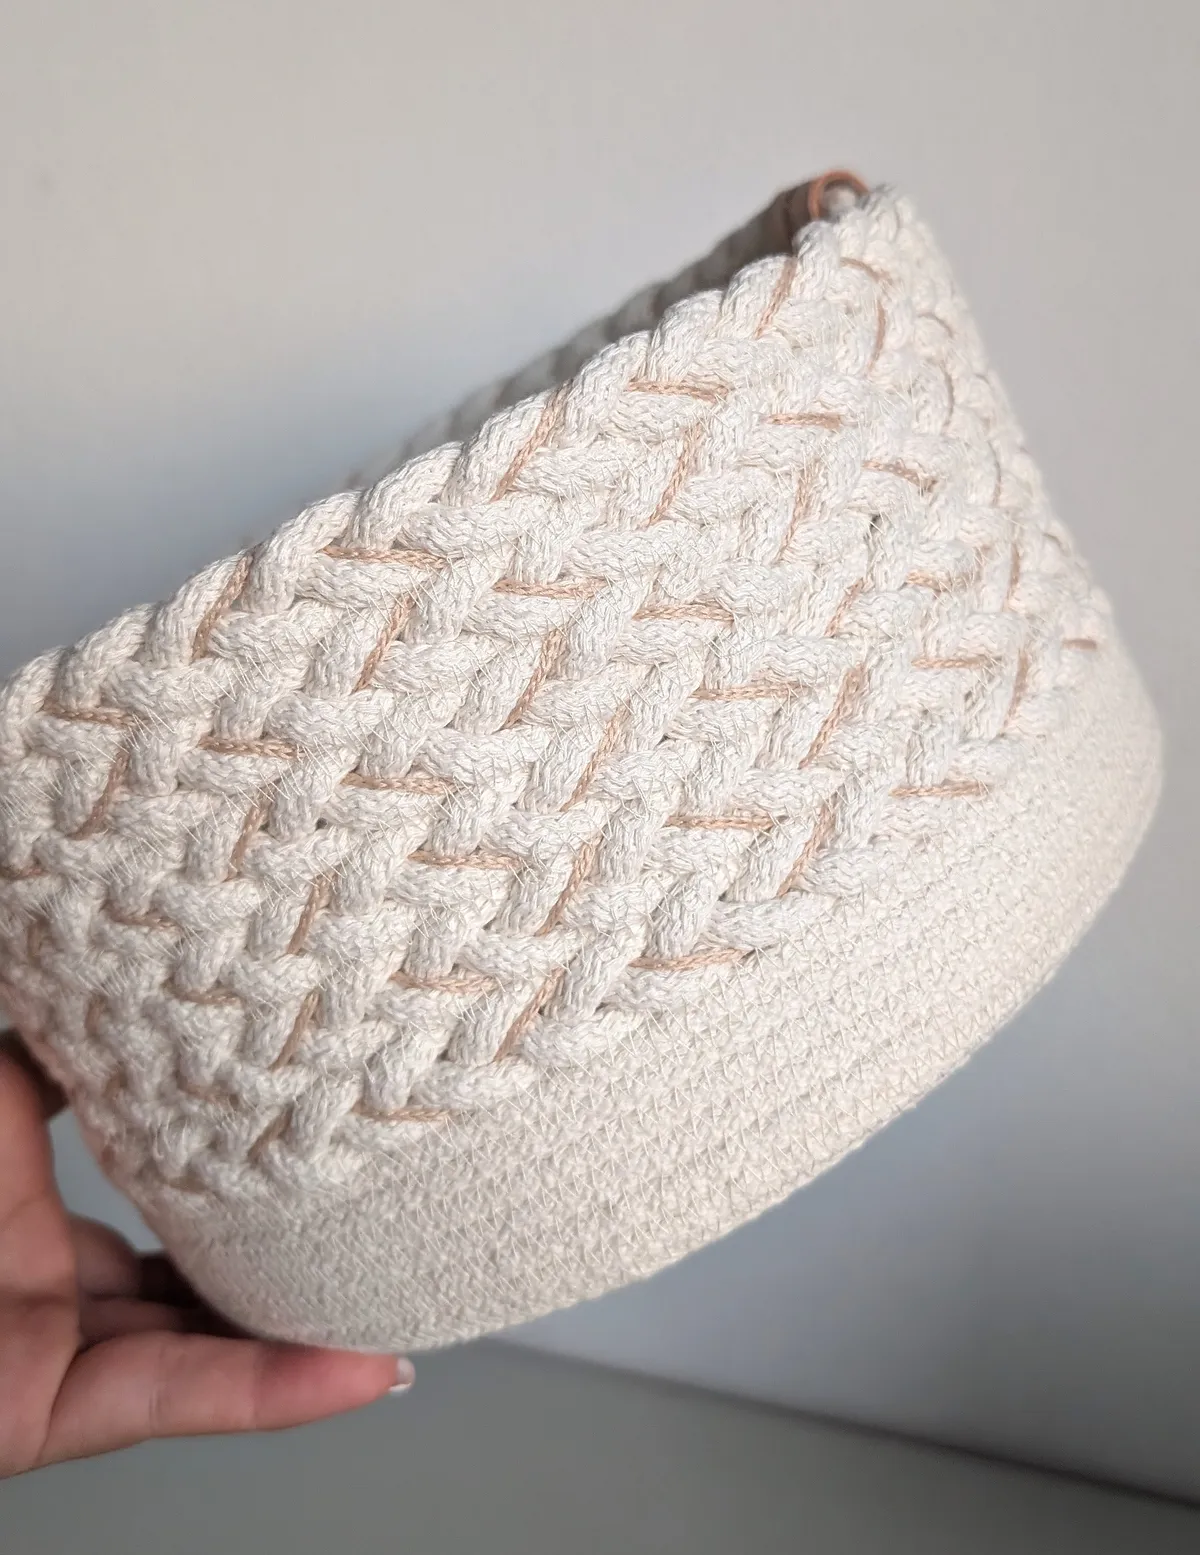
This elegant sewn rope basket combines a simple machine-sewn structure with a distinctive braided detail. It is a practical and stylish project for home décor, storage or a handmade gift.
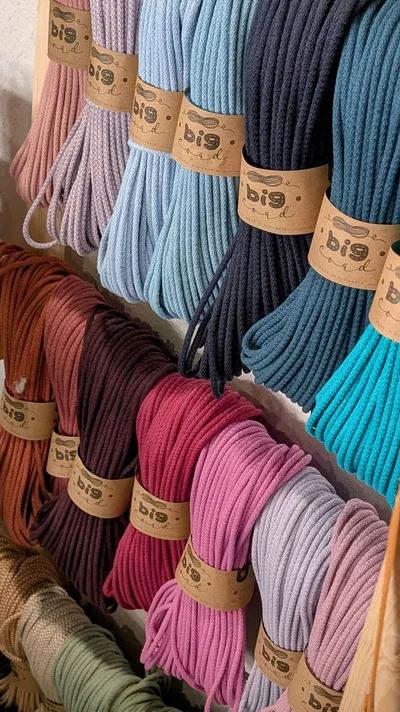
The basket is sewn with a zigzag stitch using our BIGcord 6 mm sewing cord, manufactured in our own workshop in Slovakia.
Watch the full video tutorial
What you will need
approximately 25 m of BIGcord 6 mm sewing cord
one additional 10 m cord folded in half for the braid
1.5 mm polyester cord in a beige or cappuccino shade
thin yarn in a matching cappuccino shade
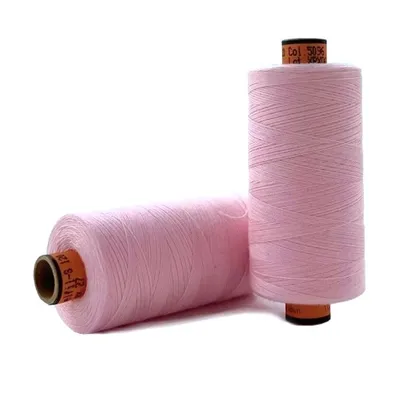
sewing thread
sewing machine with a zigzag stitch
scissors
a decorative leather label or another embellishment
Our finished basket has a diameter of approximately 20 cm (8 inches). The amount of cord required will depend on the diameter and height you choose.
Step 1 – Sew the basket base
Start by forming a small coil with the cord. Gradually enlarge the circle by sewing each new round to the previous one with a zigzag stitch.
Leave the first 1–2 cm of the centre unstitched. Once the circle is larger and easier to handle, return to the beginning and sew the centre together with a zigzag stitch.
Continue sewing and enlarging the circle until the base reaches the desired diameter.
Step 2 – Shape the basket walls
Once the base reaches the desired size, bend it upright at a 90-degree angle and continue sewing. This will begin forming the sides of the basket.
Sew several plain rounds before adding the decorative braid.
Step 3 – Prepare the braided detail
The braid is made from three 5-metre strands. One strand is the working cord already attached to the basket. Add one 10-metre cord folded in half to create the other two strands.
Add a thin yarn in a matching cappuccino shade for an extra decorative detail.
Step 4 – Braid the long cords
This is the most challenging part of the project. Carefully braid the three long strands together. Make the braid long enough to continue around the basket to your desired height.
Step 5 – Sew the braid onto the basket
Once the braid is long enough, gradually sew it onto the basket using a long, dense zigzag stitch.
The braided section is thicker than the cord itself, so some sewing machines may have difficulty stitching through it. Reduce the presser foot pressure to the lowest suitable setting and lower the upper thread tension. Adjusting the bobbin thread tension should not be necessary.
Continue sewing until the basket reaches your desired height.
Step 6 – Finish the braid
Trim the end of the braid and attach it as neatly as possible. We secured the end one strand at a time to achieve the cleanest finish.
Even with careful finishing, the end of the braid may remain slightly visible. Simply cover it with a decorative leather label or another detail of your choice.
Your basket is finished
Your elegant sewn rope basket with a braided detail is now complete.
Share your finished project on Instagram and tag @bigcord_bigideas – we would love to see what you create.
Love this style? Create a matching table setting with our Elegant Sewn Placemat tutorial.- HERE