



Macramé Leaf Tutorial
Bought some combable macramé cord and wondering what to make from it? In collaboration with Saška from veselemakrame.sk, we bring you a little inspiration, suitable even for beginners... Kick off your
Bought some combable macramé cord and wondering what to make from it? In collaboration with Saška from veselemakrame.sk, we bring you a little inspiration, suitable even for beginners...
Kick off your macramé projects with a project like this macramé leaf, for example.
What we'll need to make the macramé leaf:
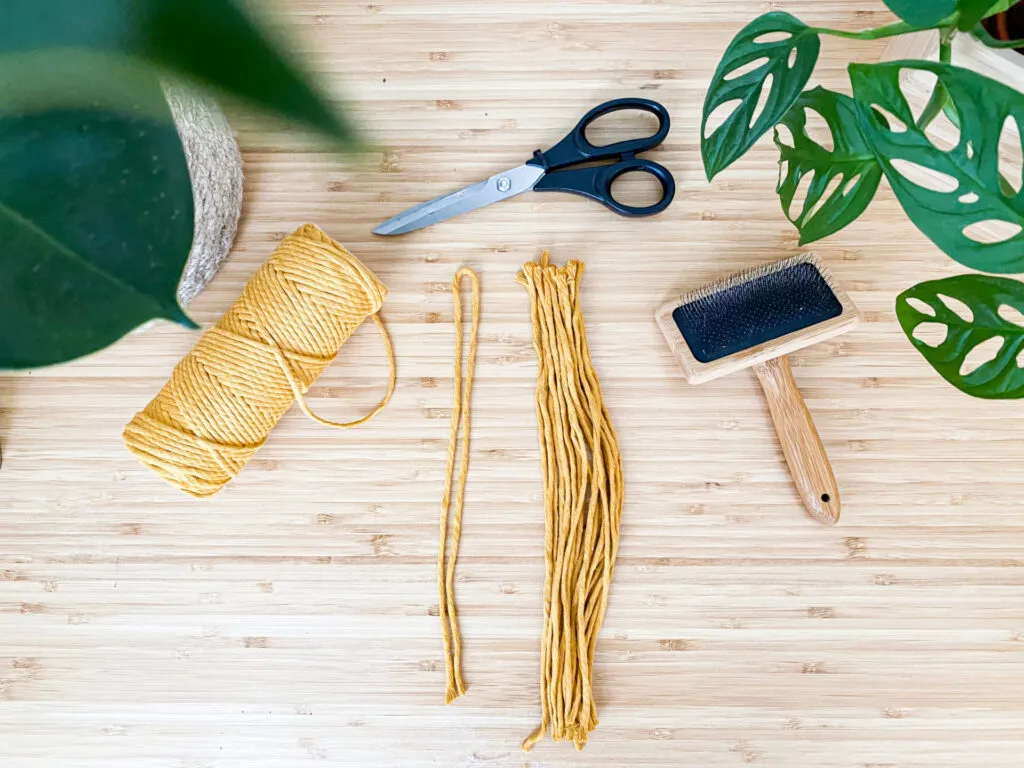
To make the macramé leaf we'll need:
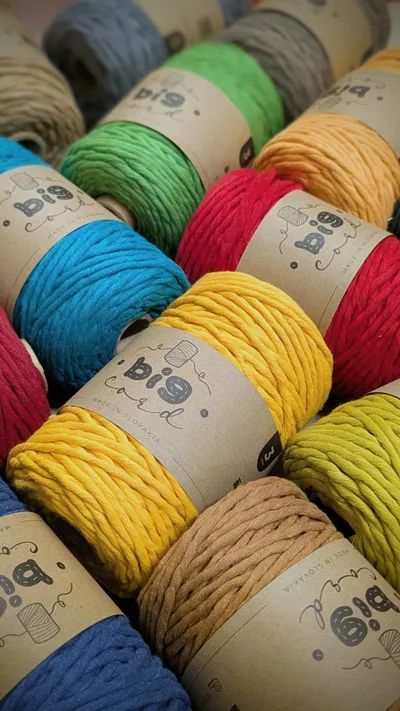
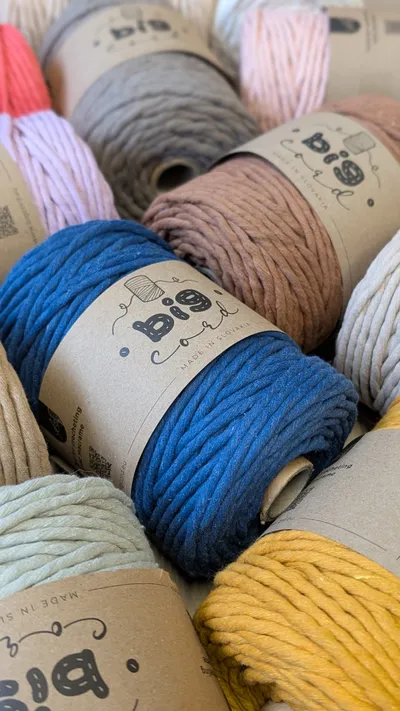
- 3mm combable cord BIGcord
- scissors
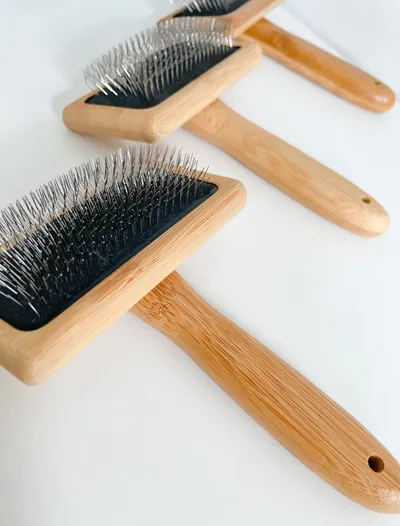
- a fine-tooth comb
- a tape measure/ruler
- hairspray (strong hold)
Steps:
1. Cut one longer piece of cord (50 cm) and 22 shorter pieces (25 cm).
2. Fold the longer cord in half and start tying the shorter cords onto it. This forms the first knot.
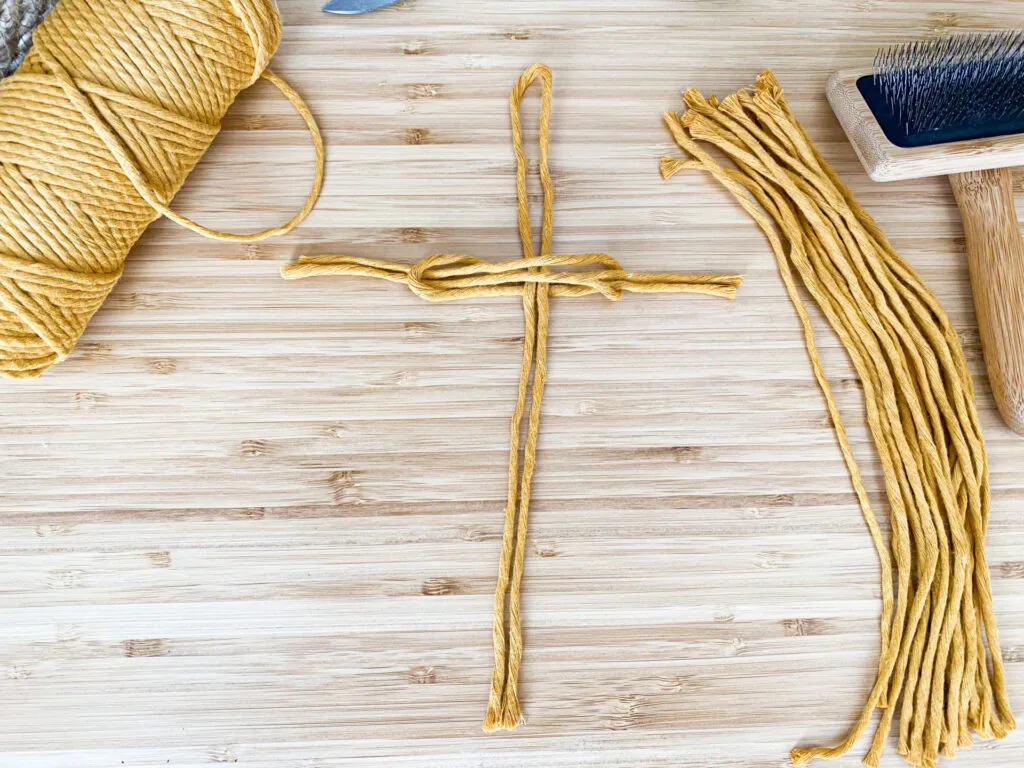
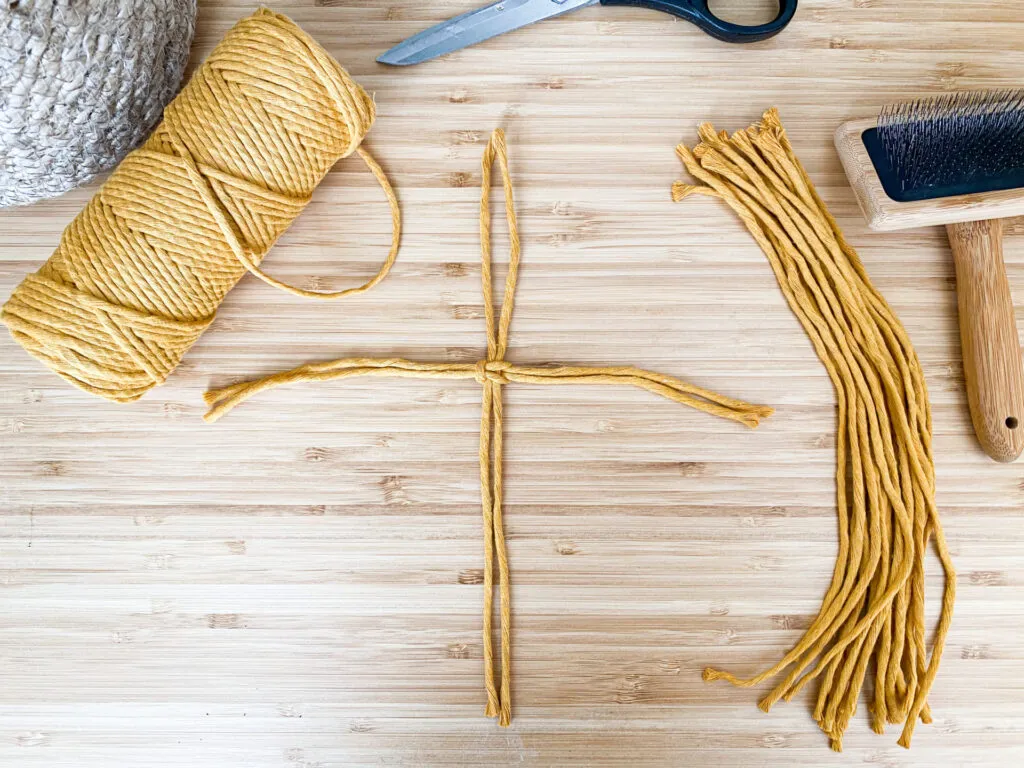
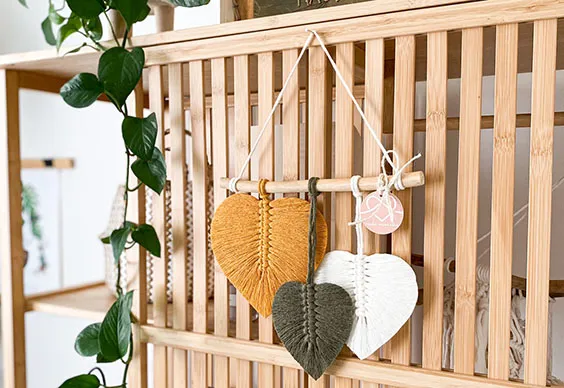
macramé leaf
3. Tie another 10 knots and pull them tight.
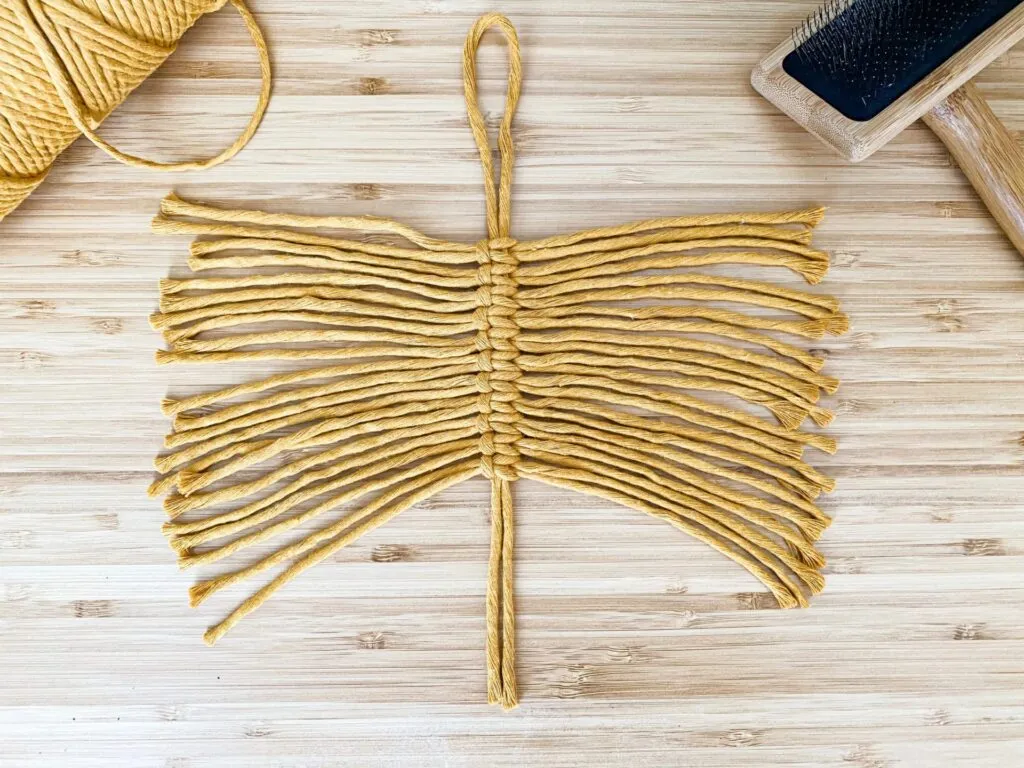
4. Using the fine-tooth comb, thoroughly comb out the cord so it separates into individual threads.
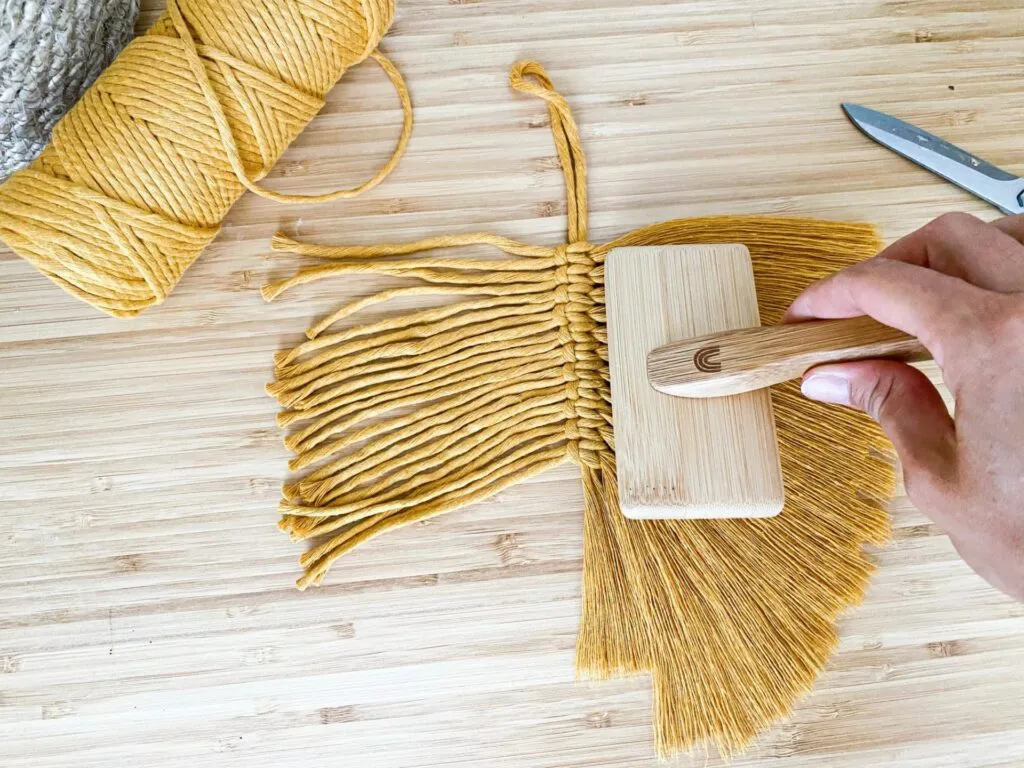
5. Spray the threads with hairspray (you can do this several times), and once dry, trim them into a leaf shape.
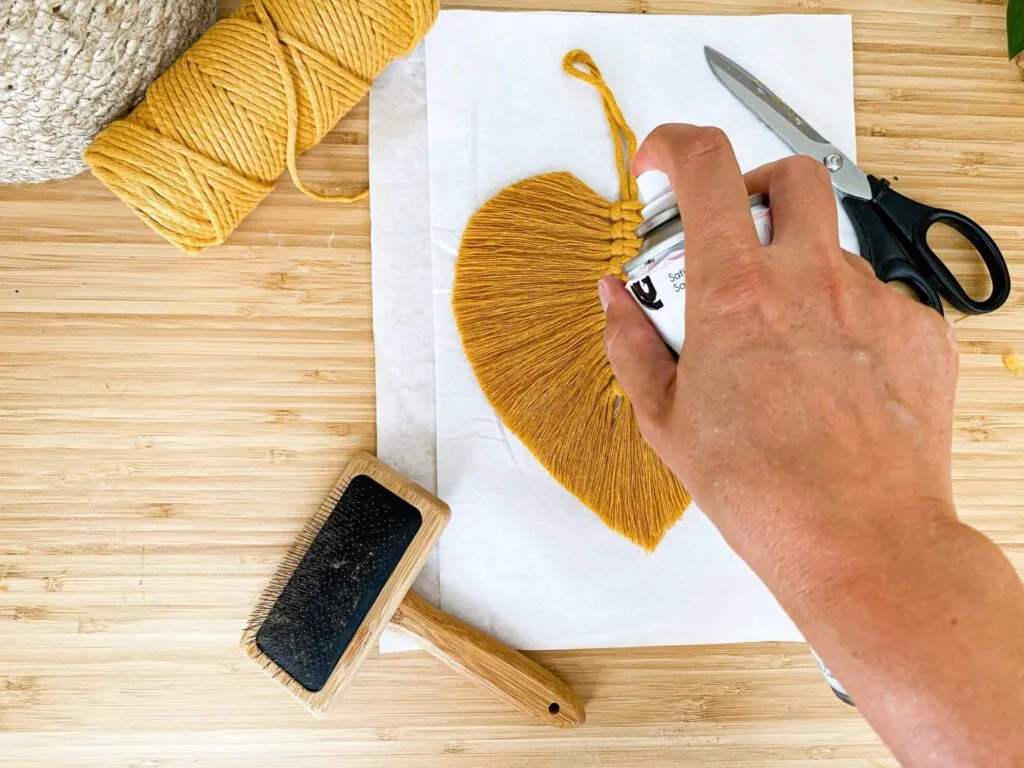
6. You can spray the leaf again and keep shaping it with the scissors until it's perfect :)
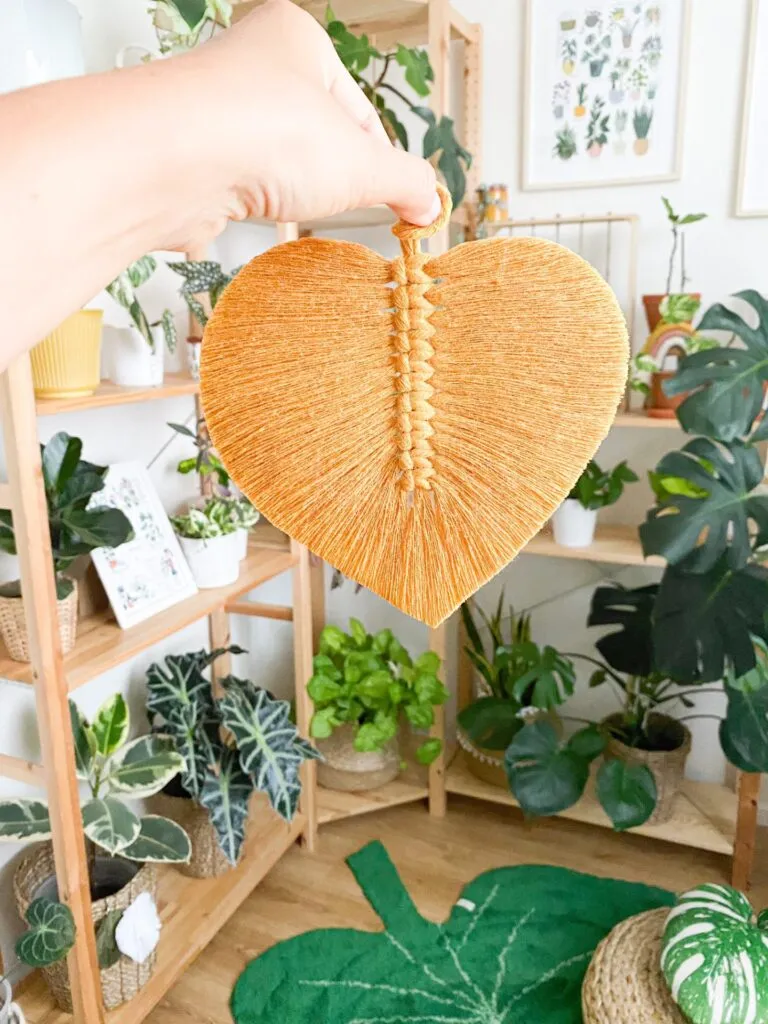
The little leaves can be made in various colours and various sizes. They can be used as a decoration on wooden sticks, or simply on a wall, a picture, or as part of another hanging decoration. The key is to comb out the yarn correctly and precisely, and not to give up despite the initial failures :). Don't skimp at all on the hairspray used to fix the whole macramé leaf. A completely ordinary hairspray that you can find in any drugstore will do. So, now get to work :)