



Sewn Cord Handbag - Tutorial
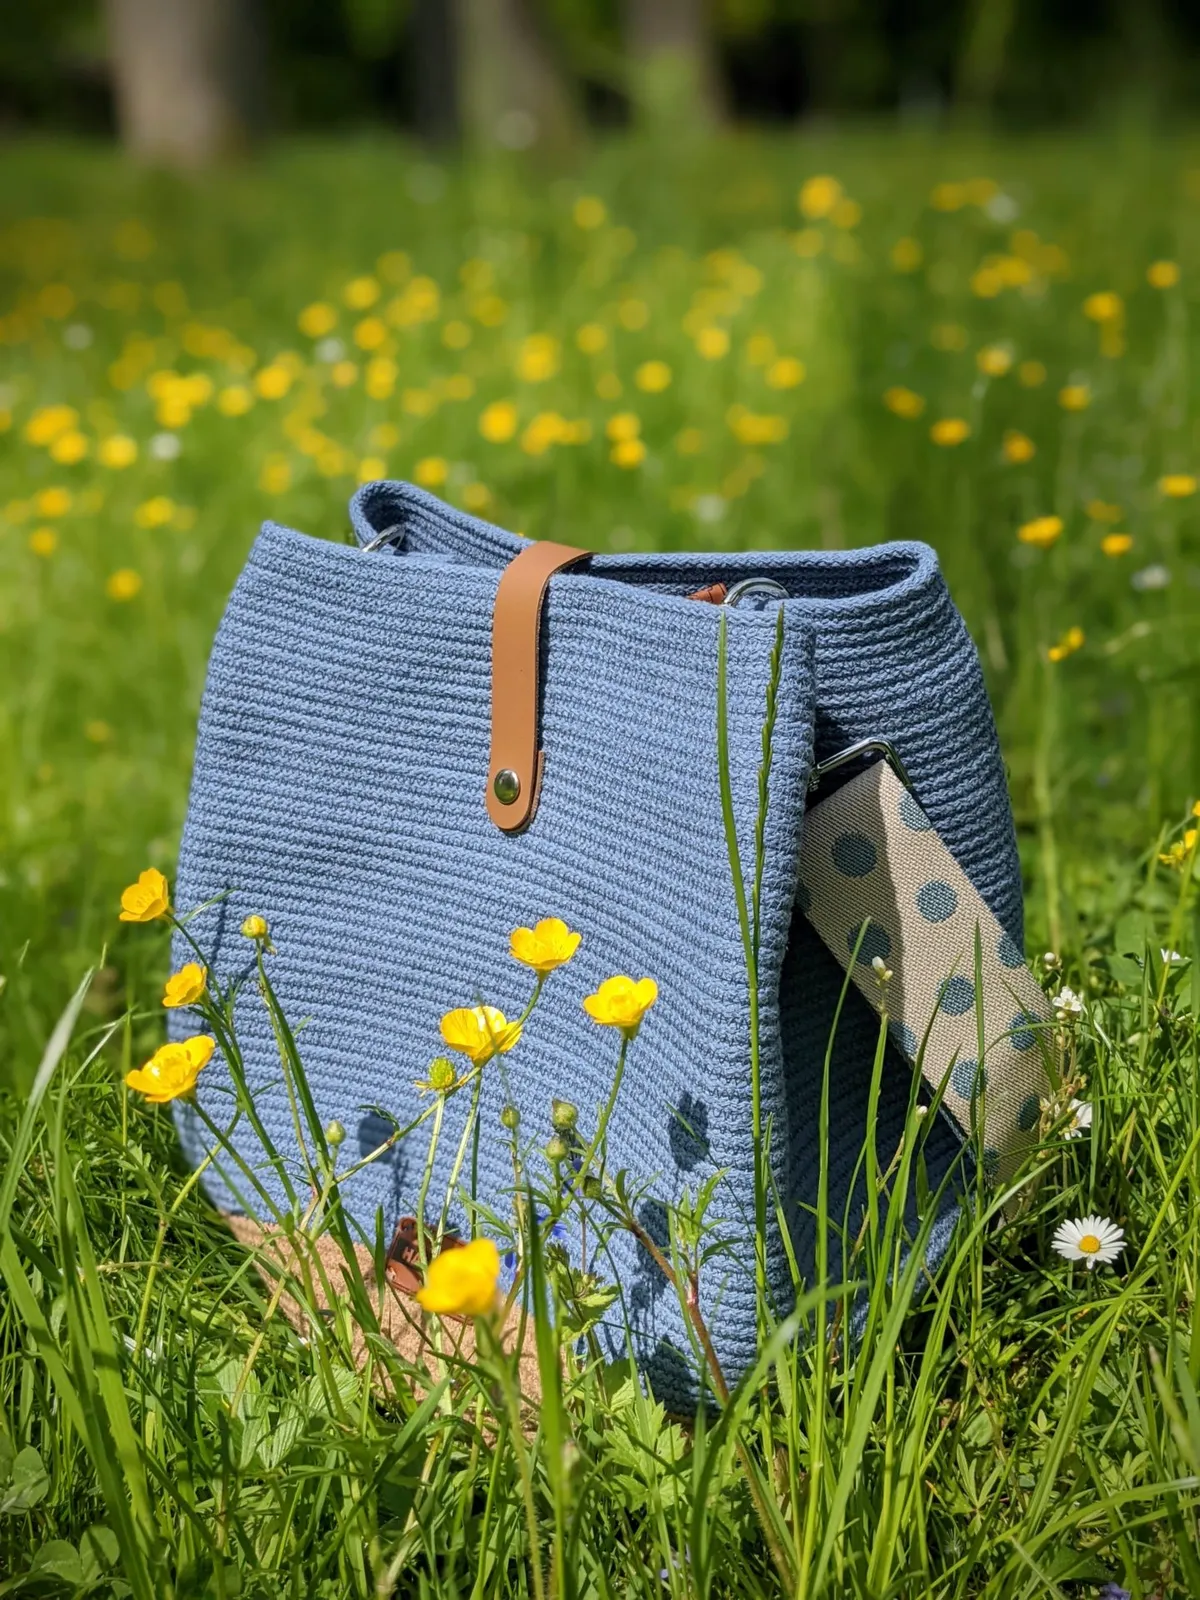
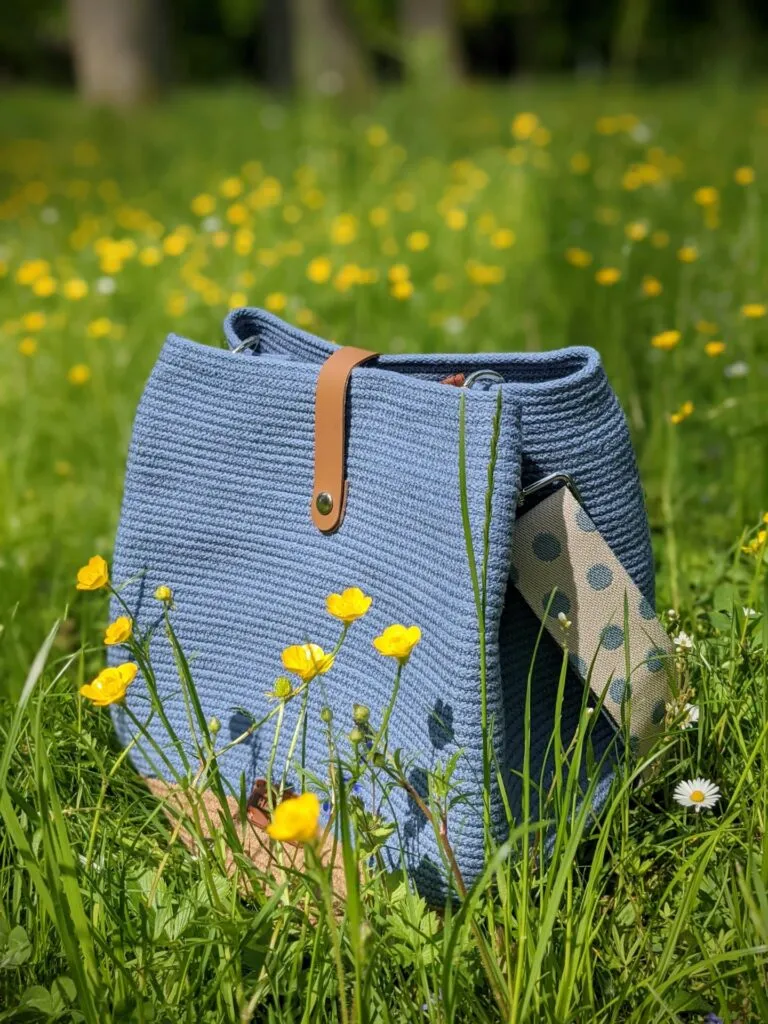
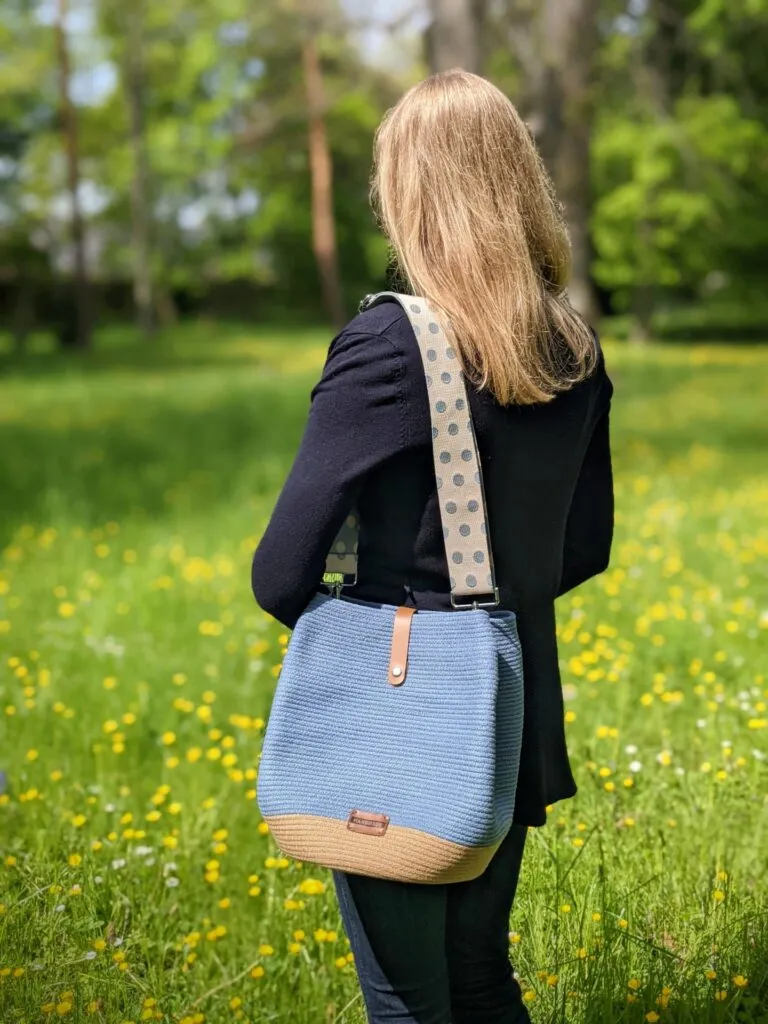
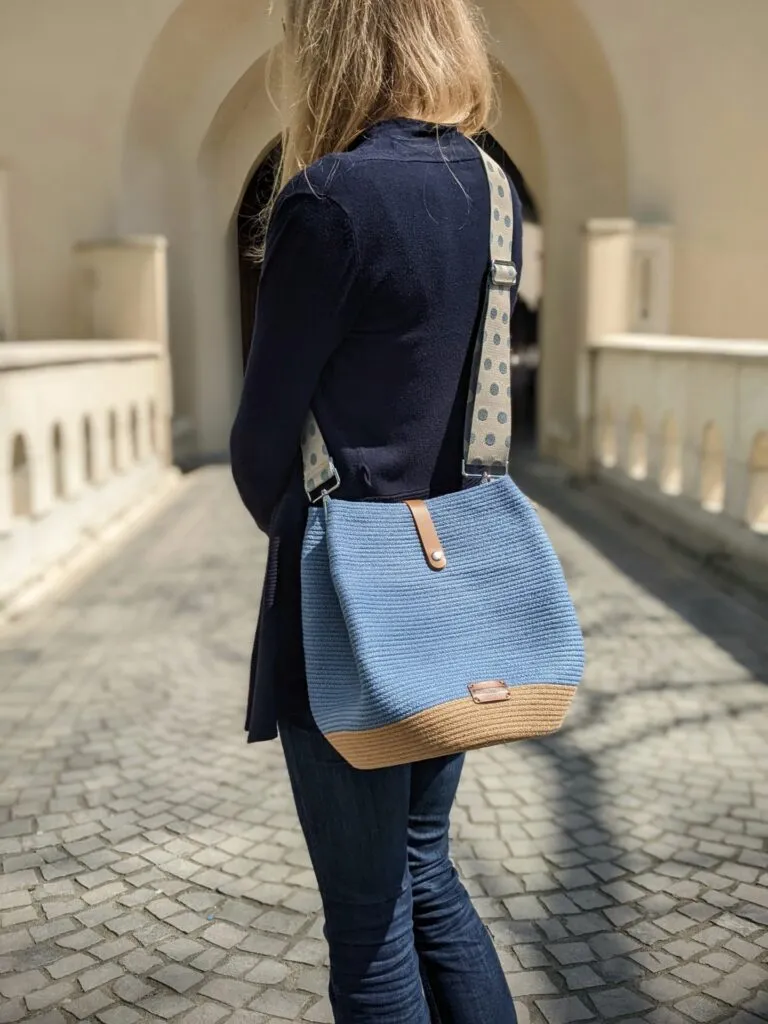
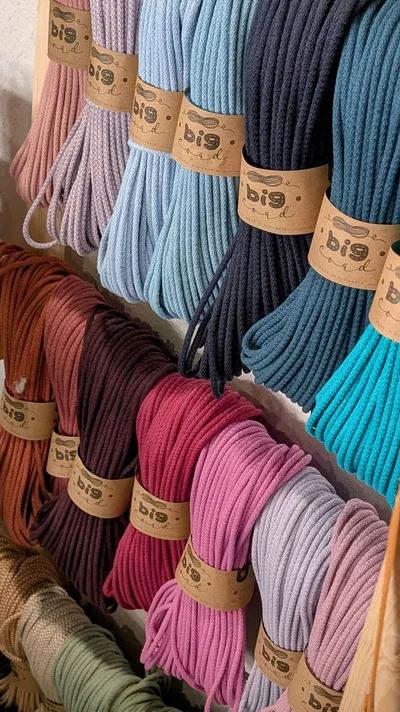
Our sewn handbag made from sewing cord measures approx. 28cm wide and 31cm tall. For the base of the bag we used about 15 metres of 6mm VEĽKÁvlna sewing cord and the rest of the bag is sewn from almost an entire 50-metre
Our sewn handbag made from sewing cord measures approx. 28cm wide and 31cm tall. For the base of the bag we used about 15 metres of 6mm VEĽKÁvlna sewing cord and the rest of the bag is sewn from almost an entire 50-metre skein of our 5mm or 6mm sewing cord.
Besides the VEĽKÁvlna cords, for this sewn cord handbag we will need:
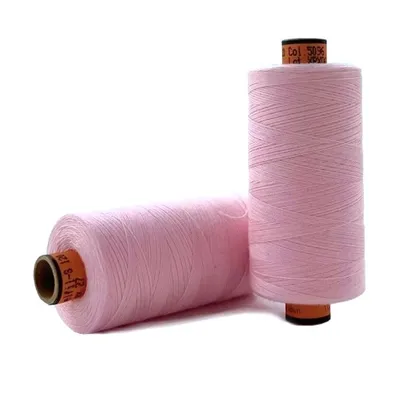
sewing thread
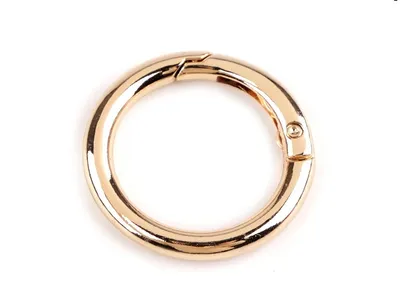
2 openable rings (round snap hooks)
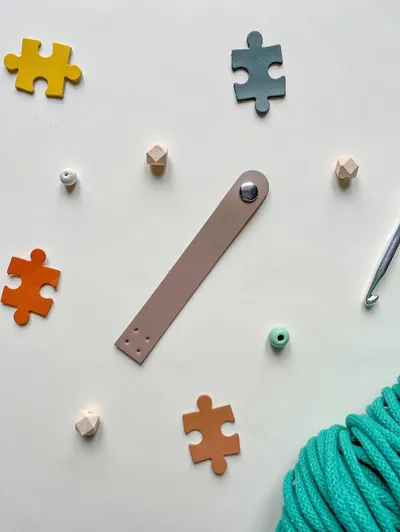
leather tags
a leather buckle
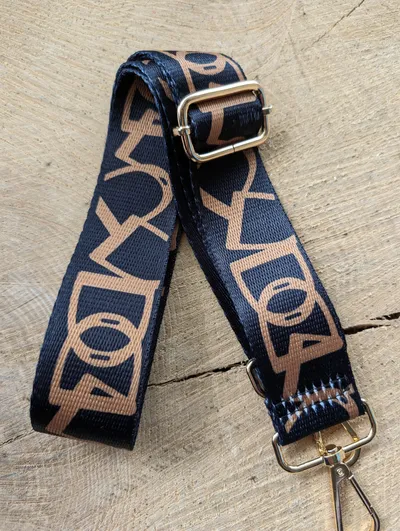
a strap
and of course a needle, pins, scissors and a sewing machine
Step 1
As with most products made from sewing cord, we start with a spiral (snail). We sew using a zig-zag stitch until we reach the desired size. In our case that will be 23cm.
We make a spiral
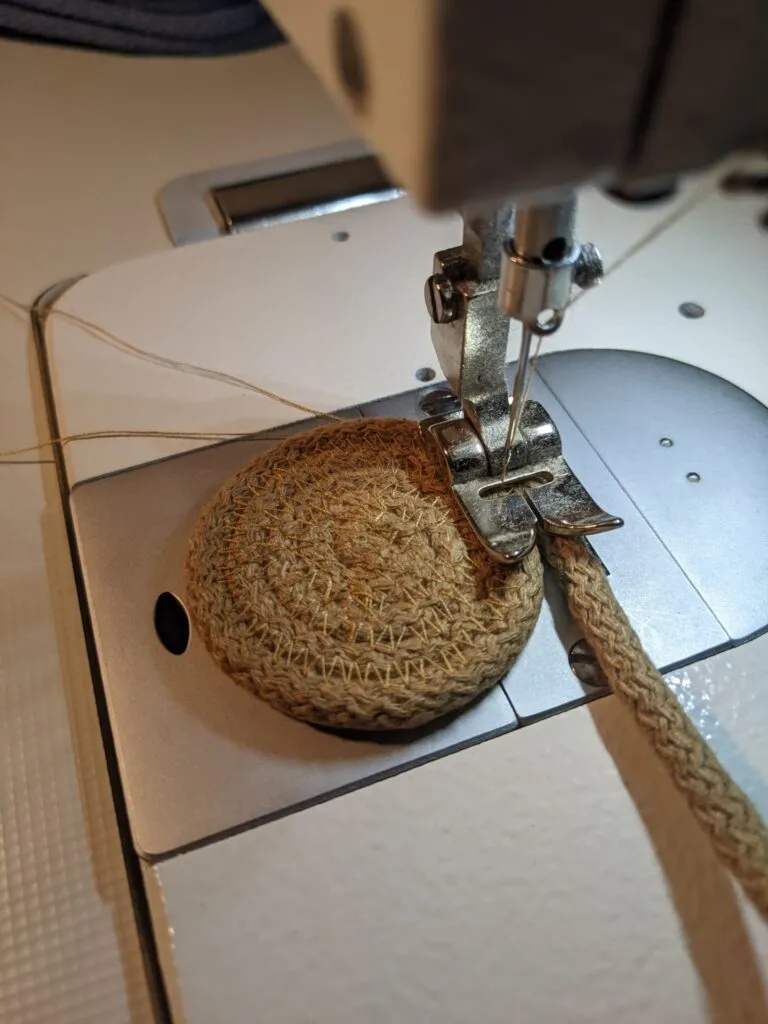
We begin joining with a zig-zag stitch
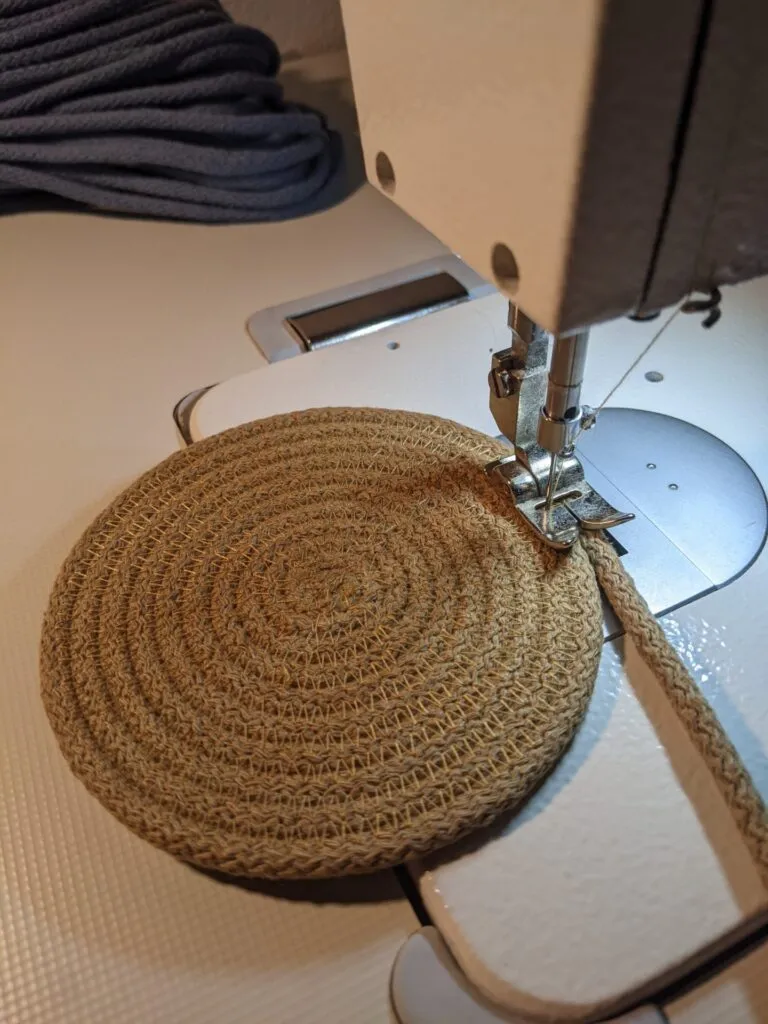
and we keep enlarging it...
Step 2
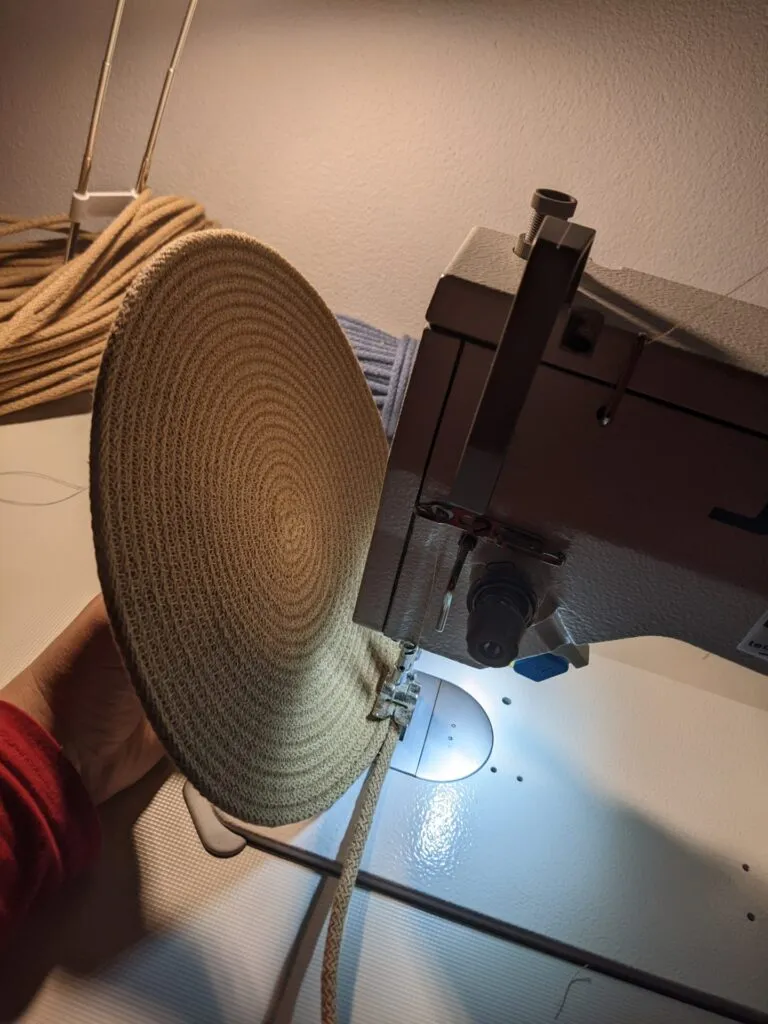
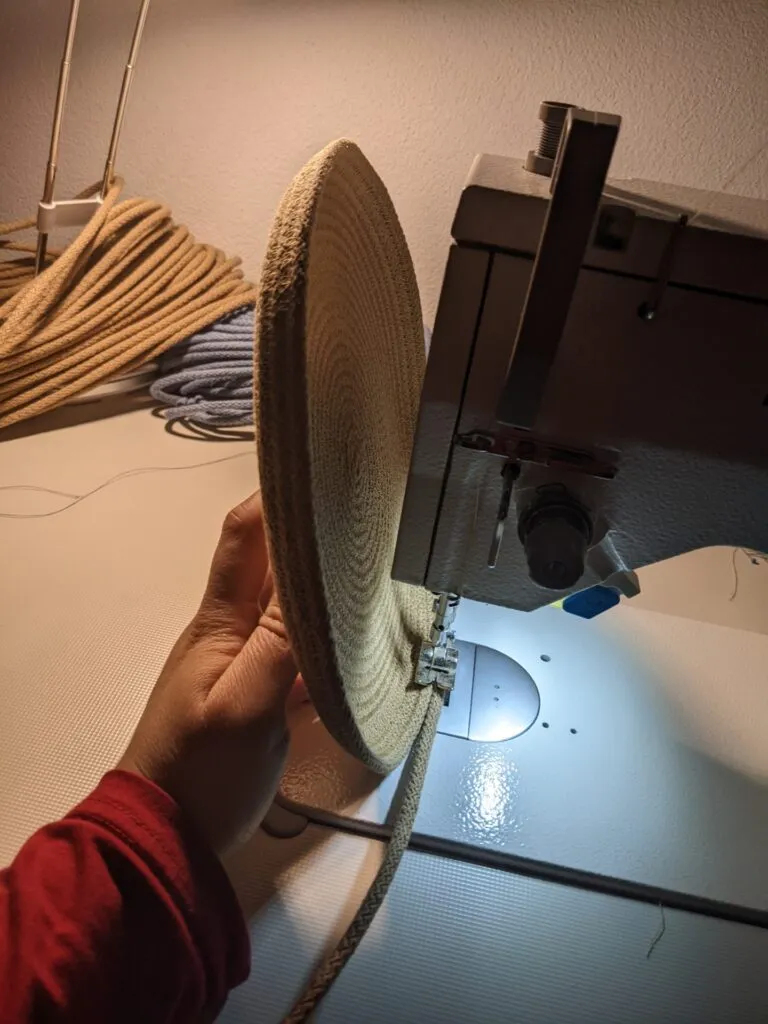
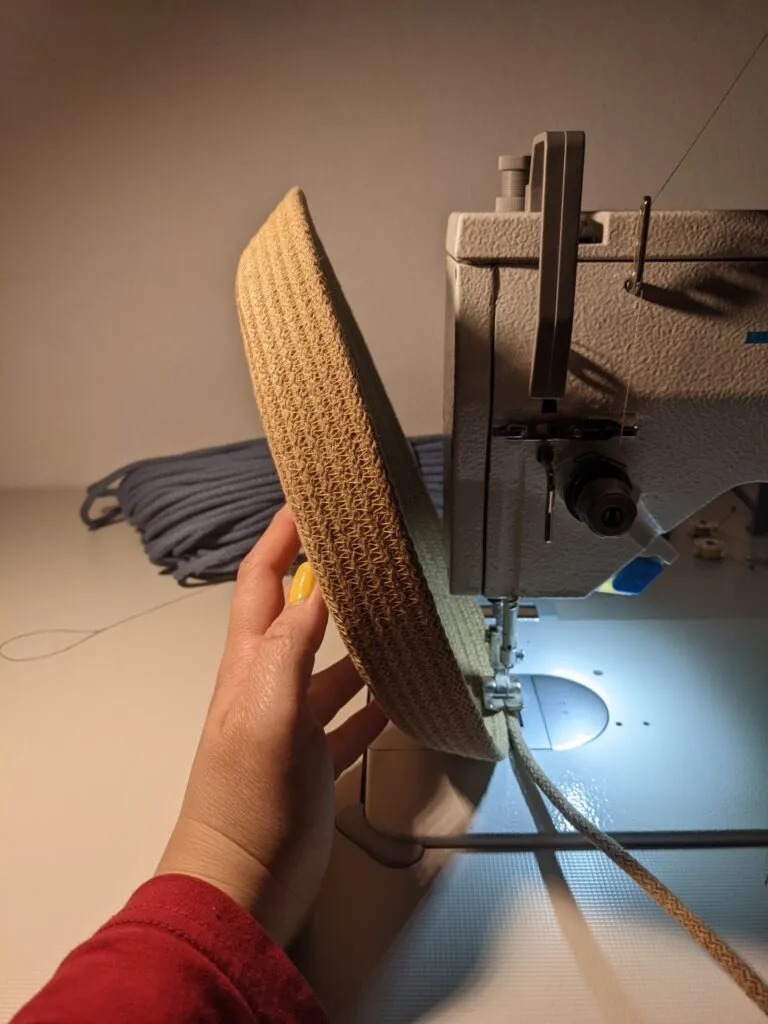
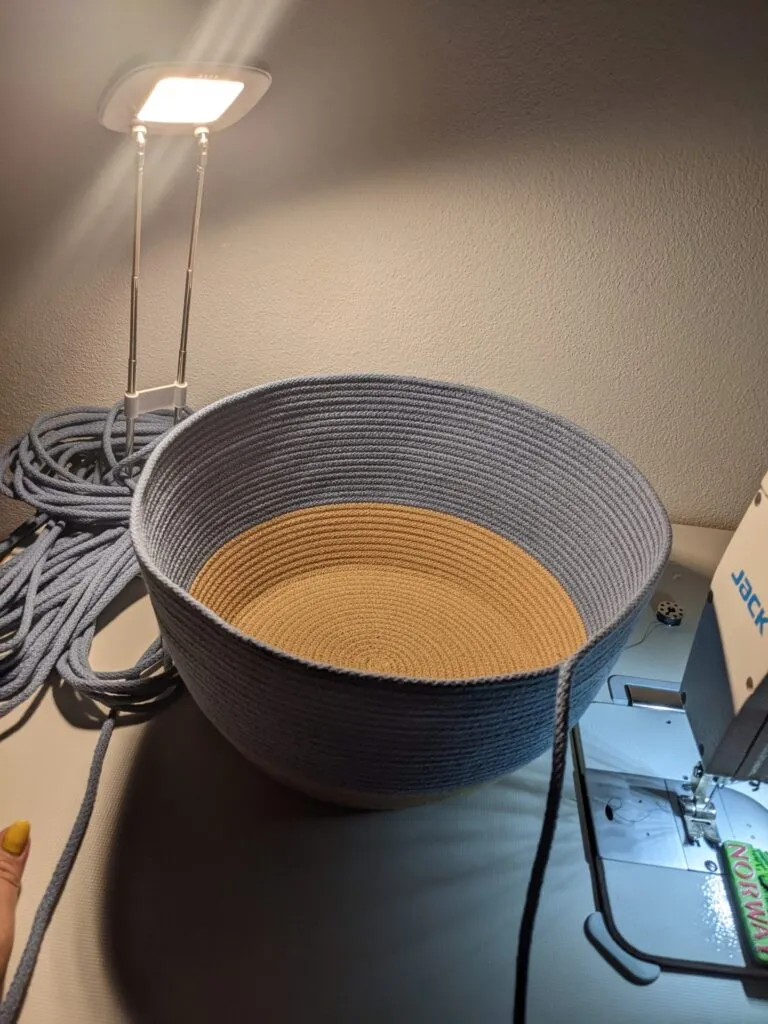
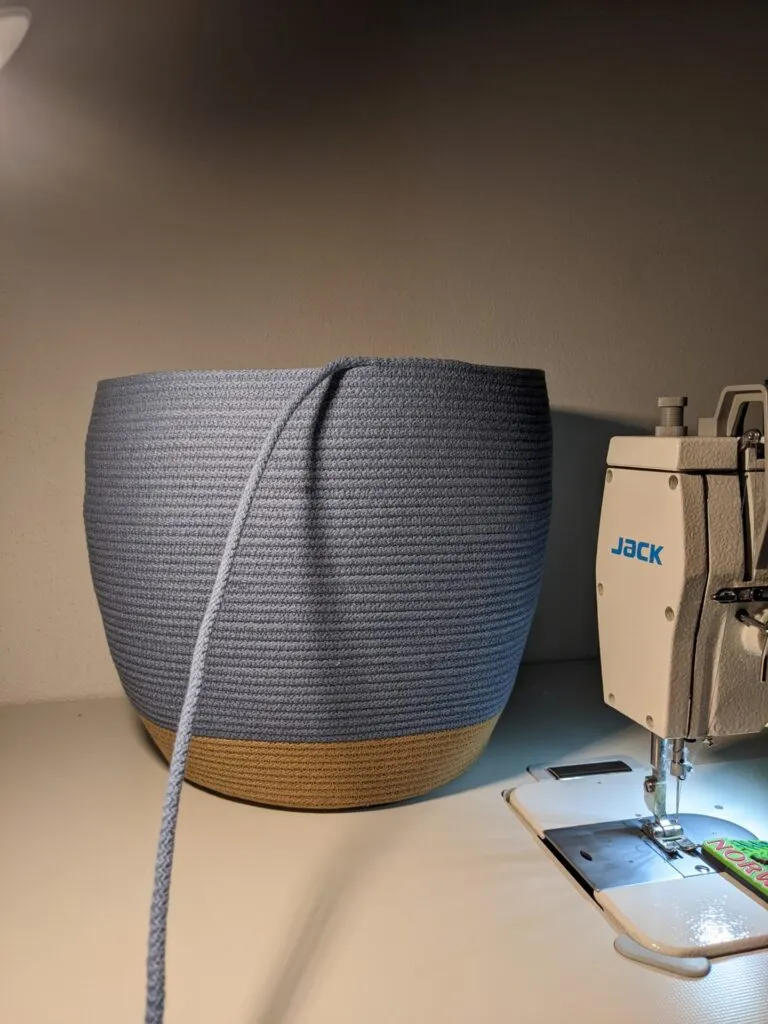
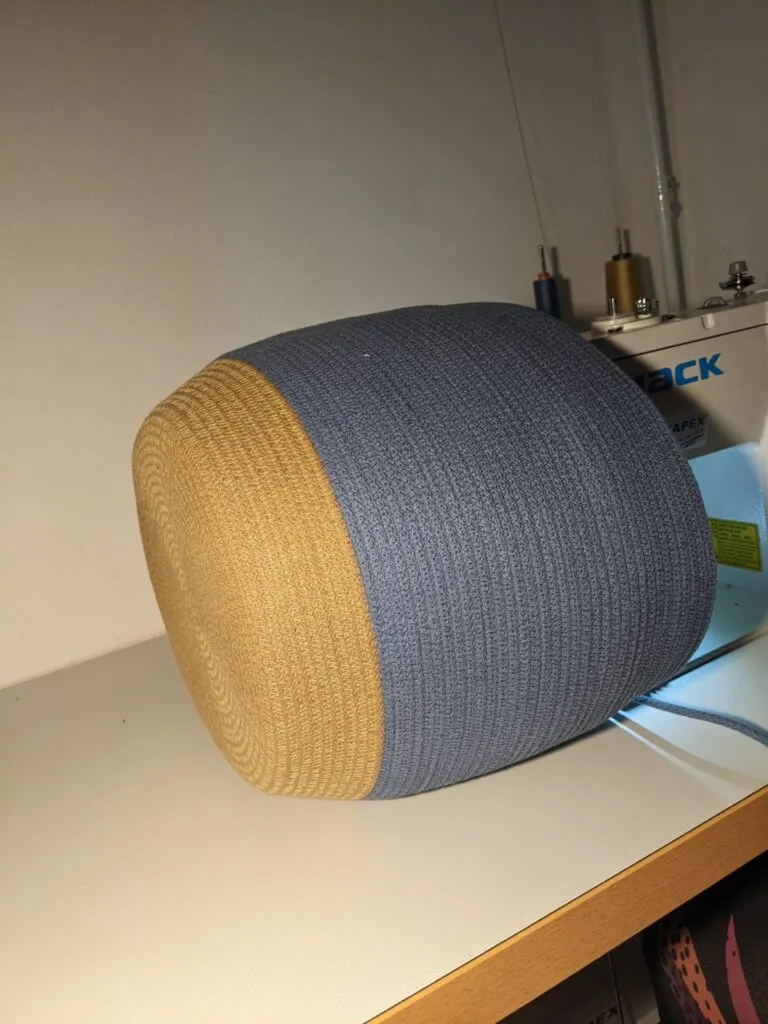
When our base measures 23cm we move on to sewing the wall of the bag. We tilt the base (not perpendicular, but as shown in the picture) and continue sewing. Since we want the bag to gradually widen, the base must be at about a 45 degree angle. The greater the angle, the wider the base we achieve. If we tilted the base perpendicular to the surface, our wall would be straight and vertical, which is not what we want for this bag.
Step 3
After 9 rows of sandstone colour we change the colour. We will later cover the join of the two colours with a leather tag. We sew the first 3 rows still at the same tilt until we reach the desired width - 28cm. Then we tilt the base perpendicular to the surface and sew the remaining rows straight.
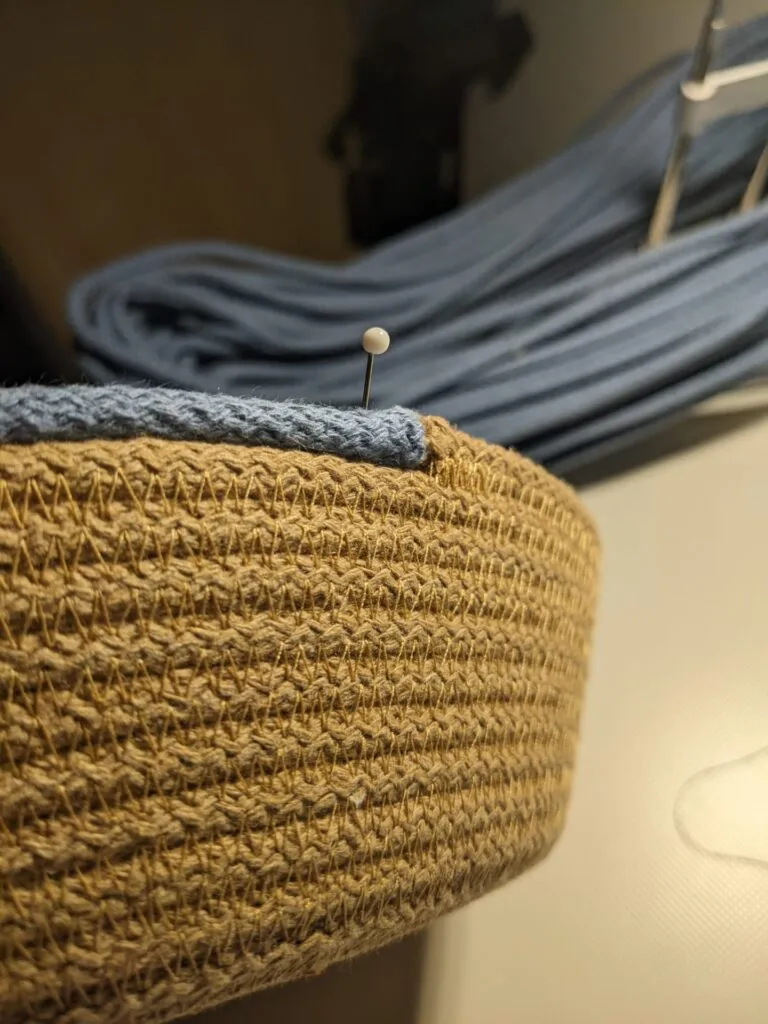
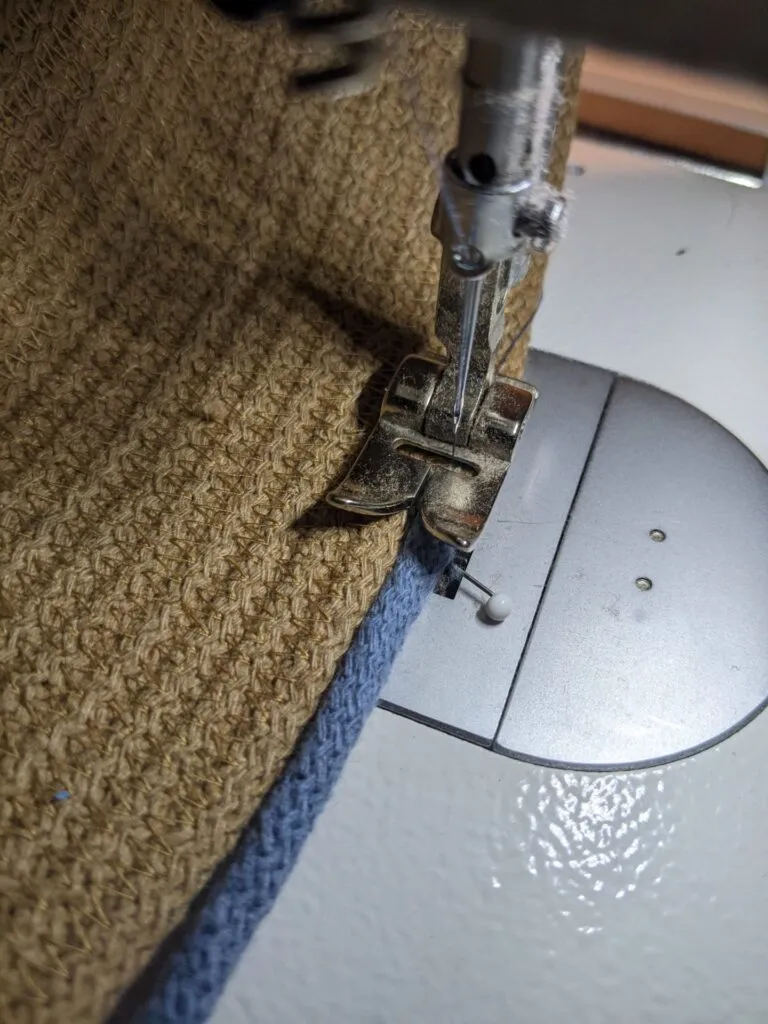
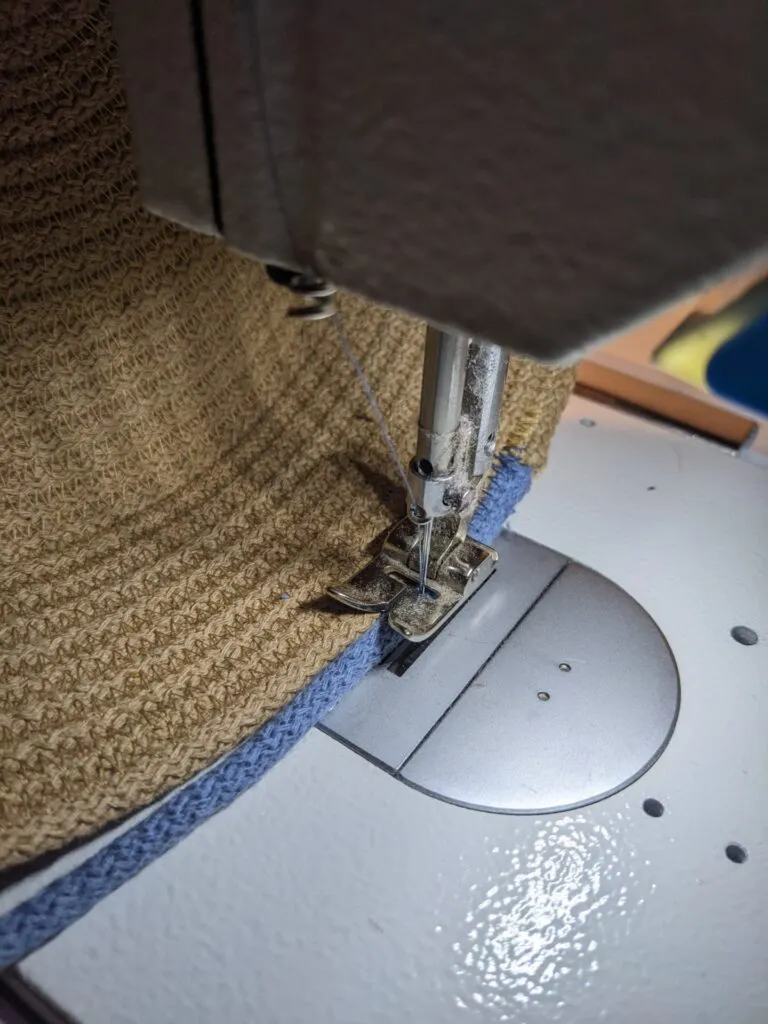
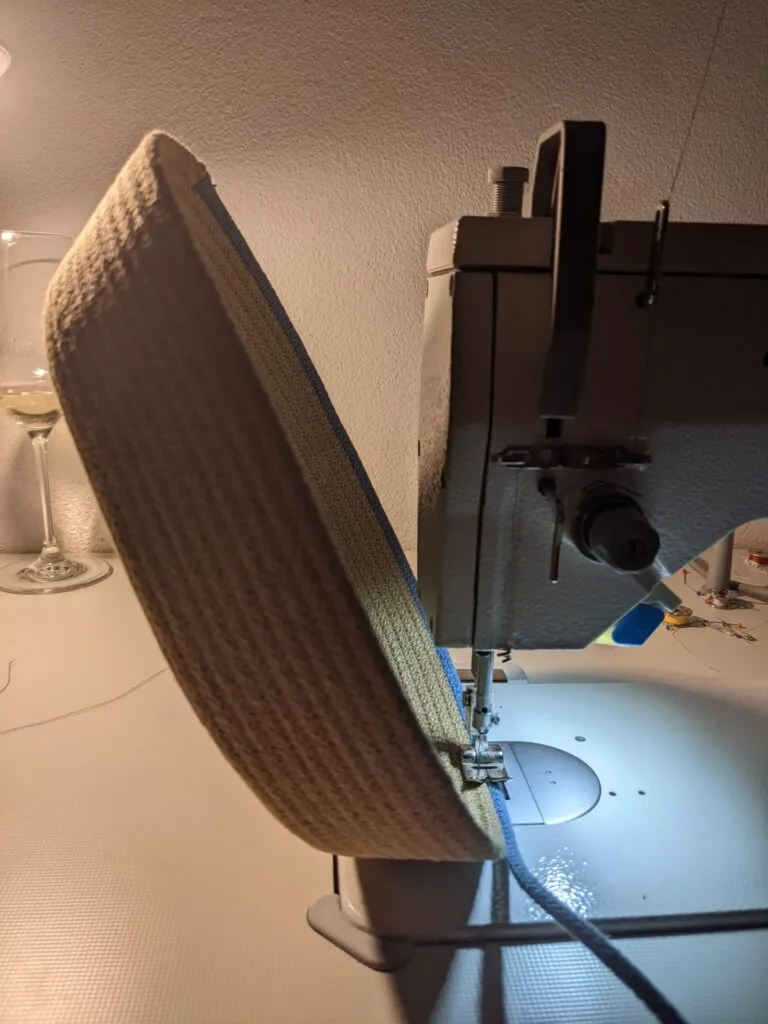
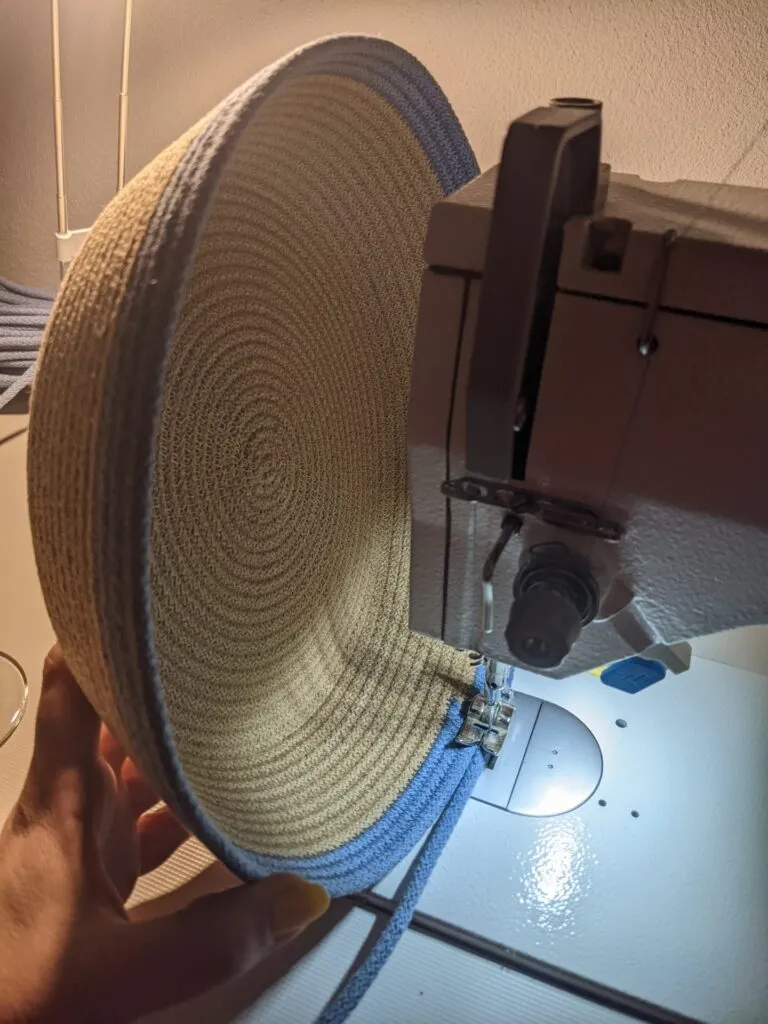
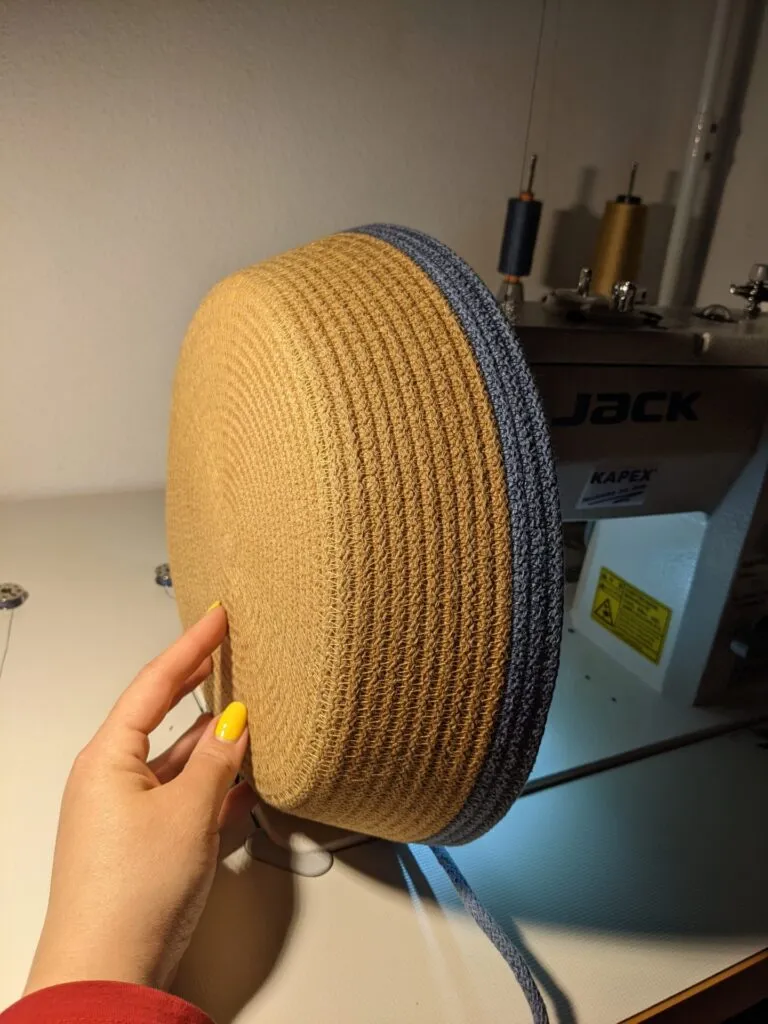
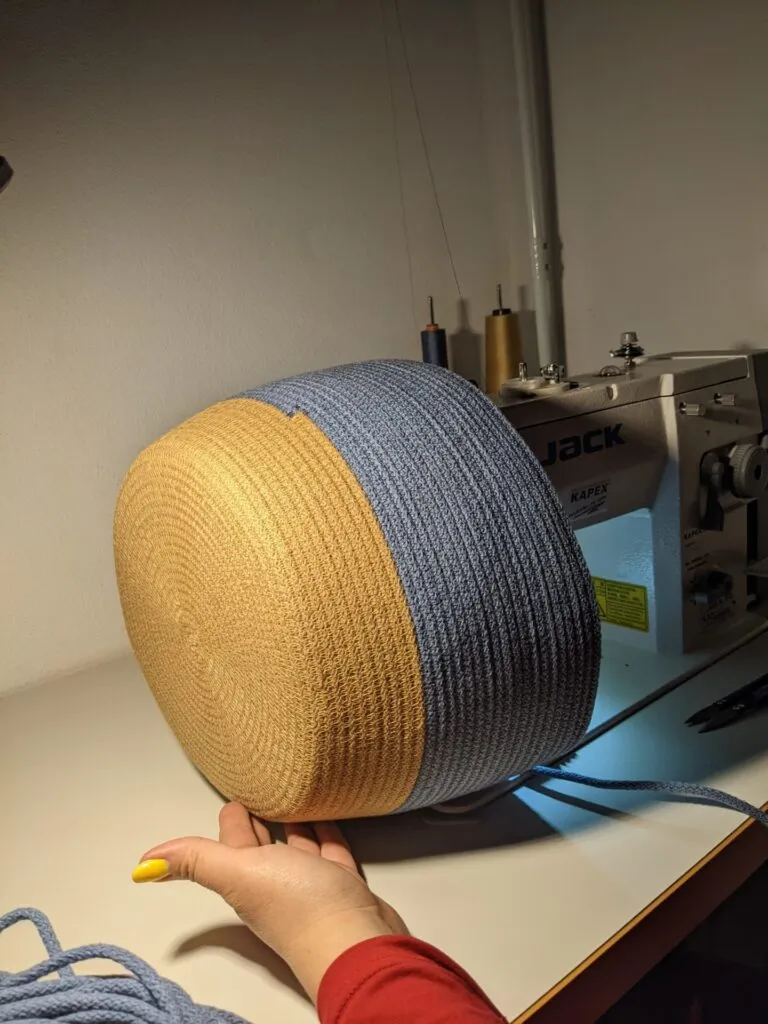
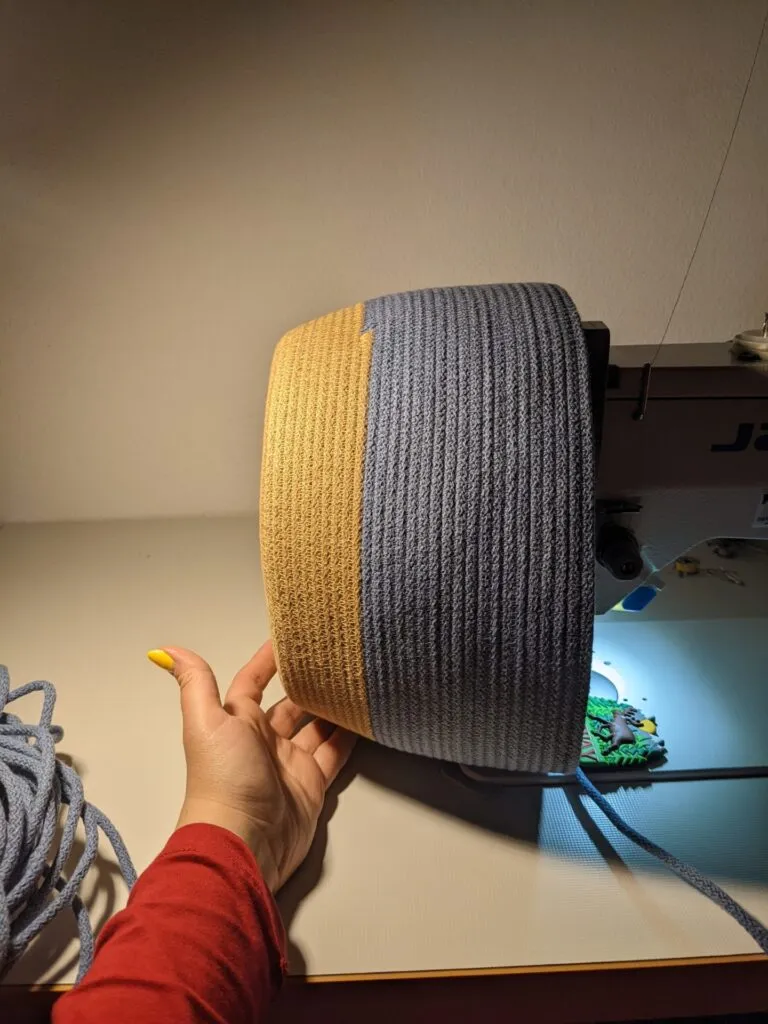
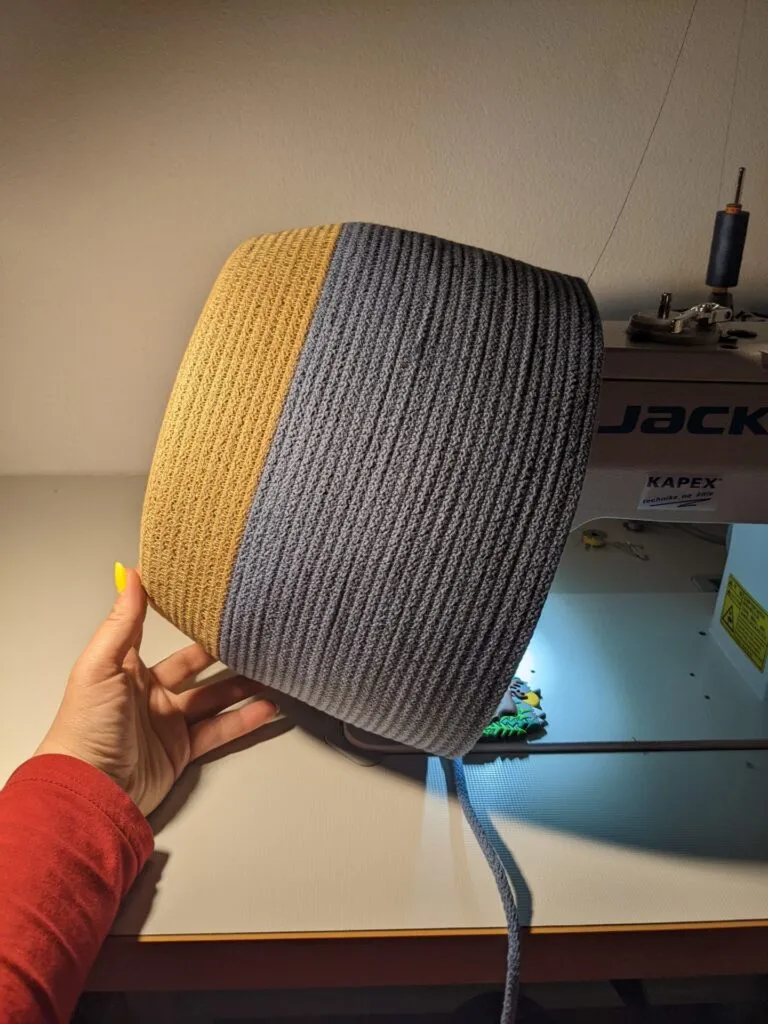
After about 23cm we begin narrowing the bag. We do this by tilting the already sewn part in the opposite direction than before, and we can also gently tension the cord so that the top of the bag narrows a little.
Step 4
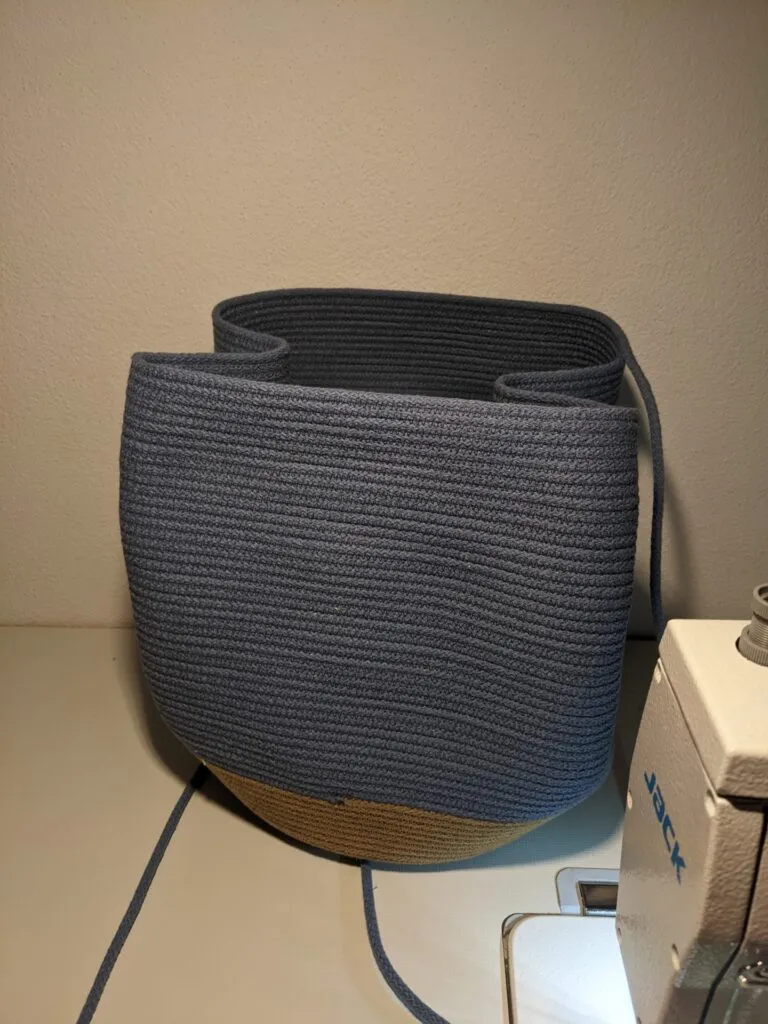
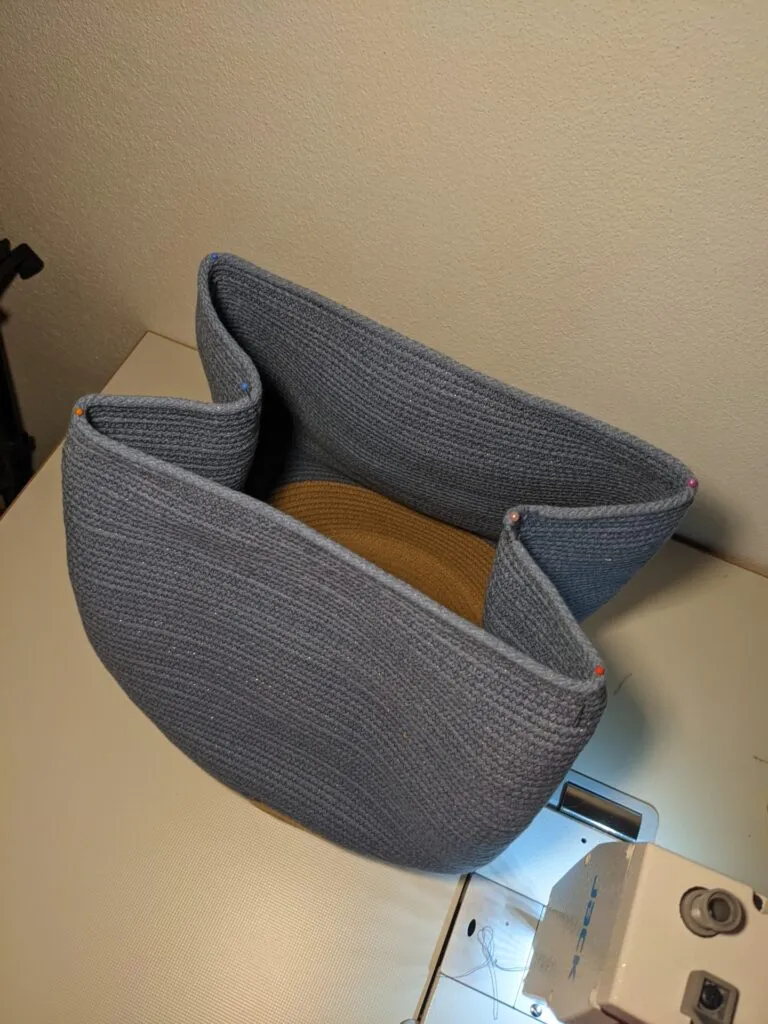
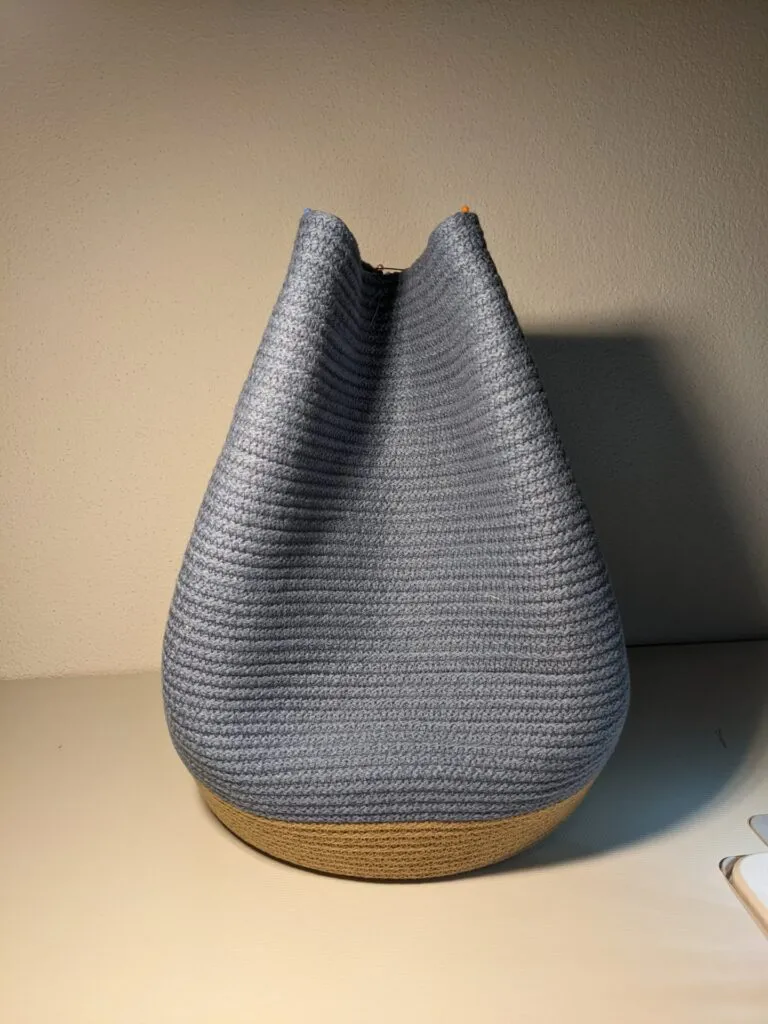
We are nearing the end, so we slowly begin shaping the bag. We finished sewing the bag at a height of about 31cm, but if your bag widened or narrowed differently, adjust the height to your own needs.
We set the spot where we changed the cord colour as the front of the bag. We disguise it with a leather tag that will also serve as decoration. We press the sides of the bag inwards, which gives us the desired shape.
Step 5
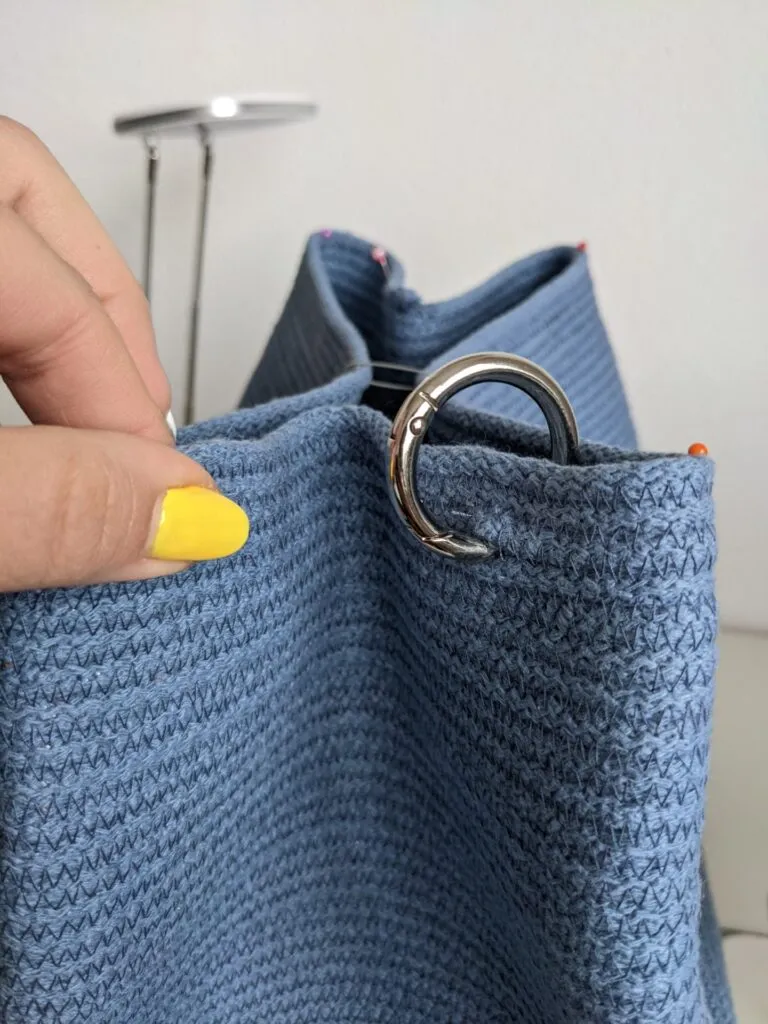
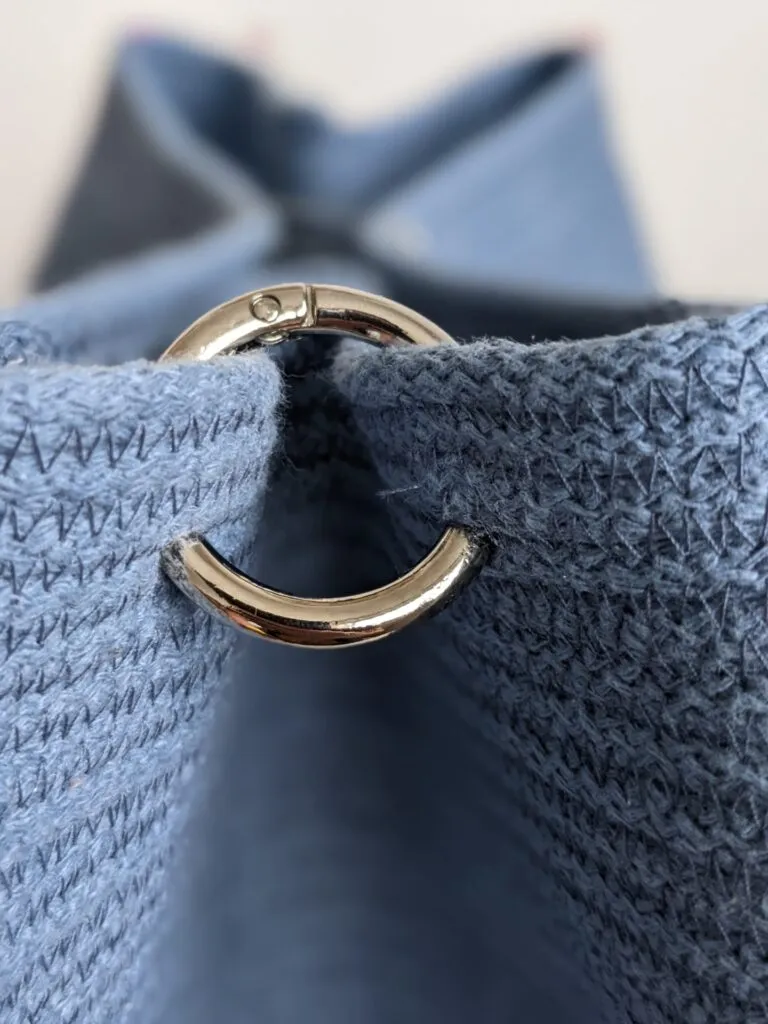
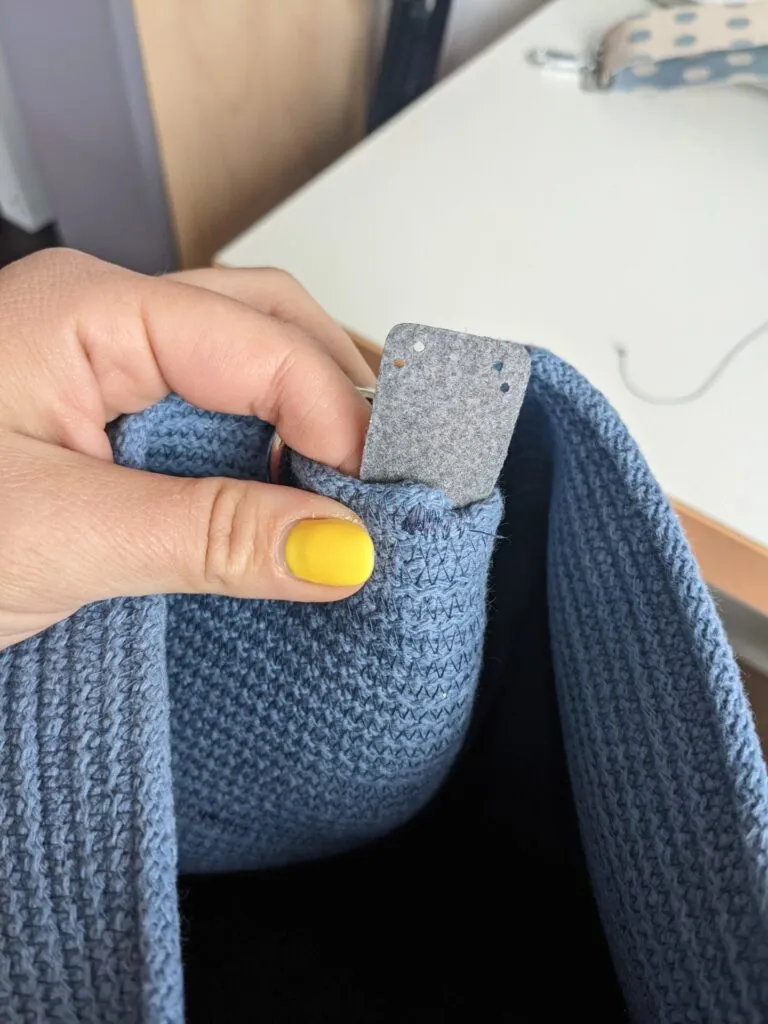
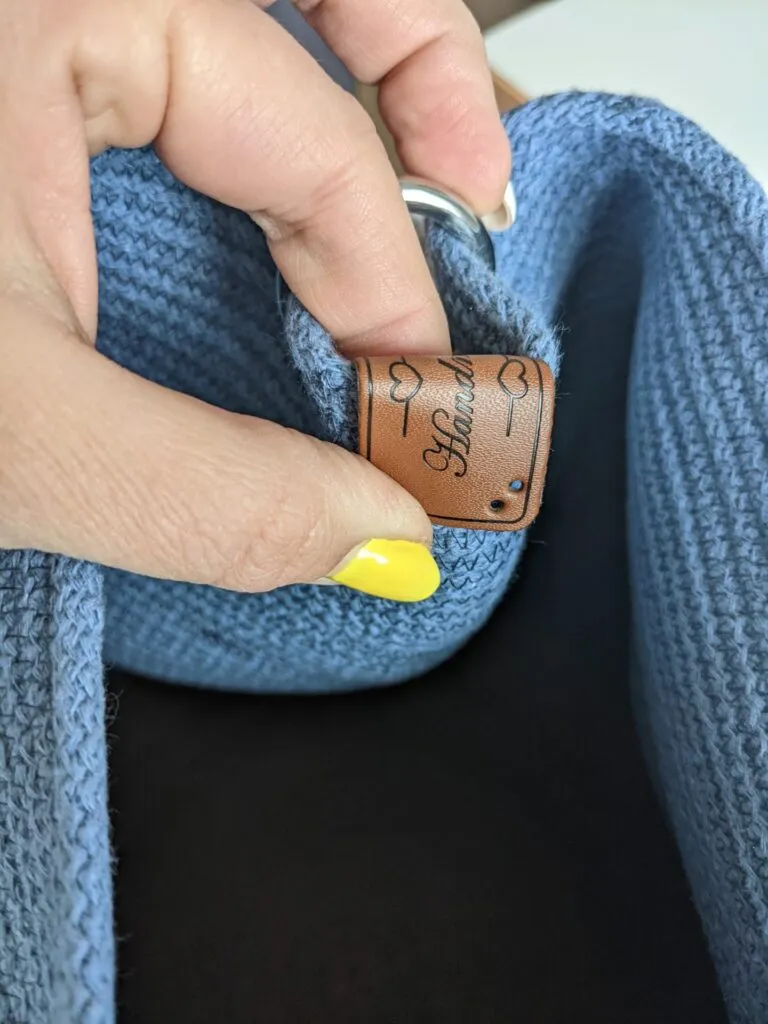
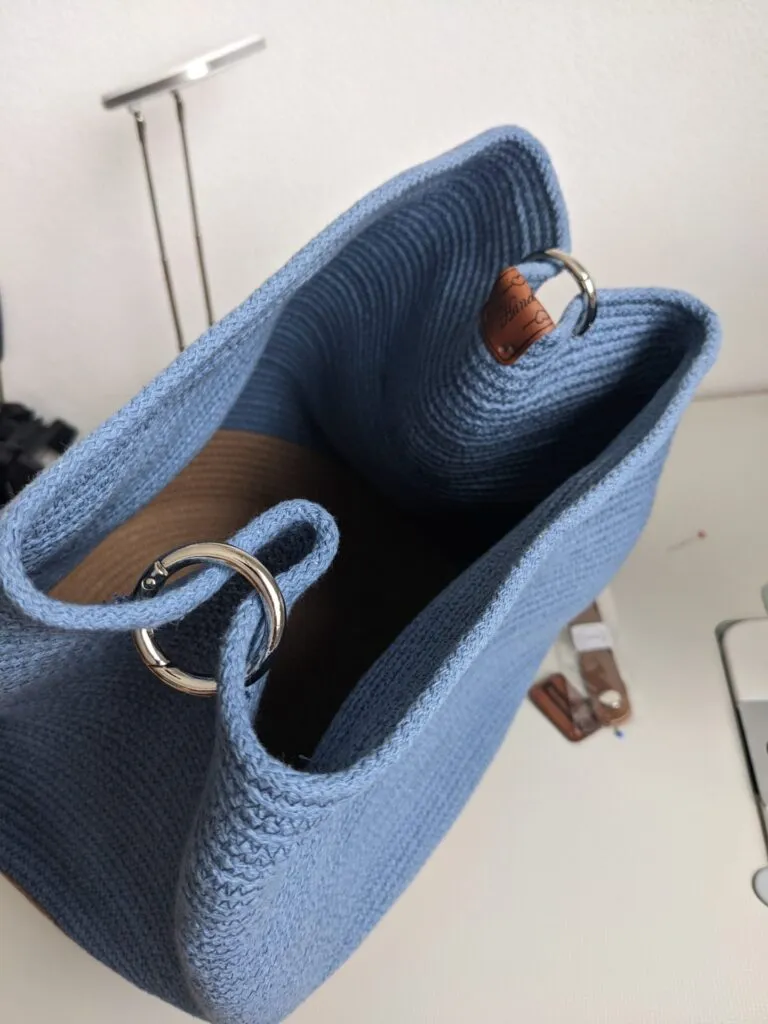
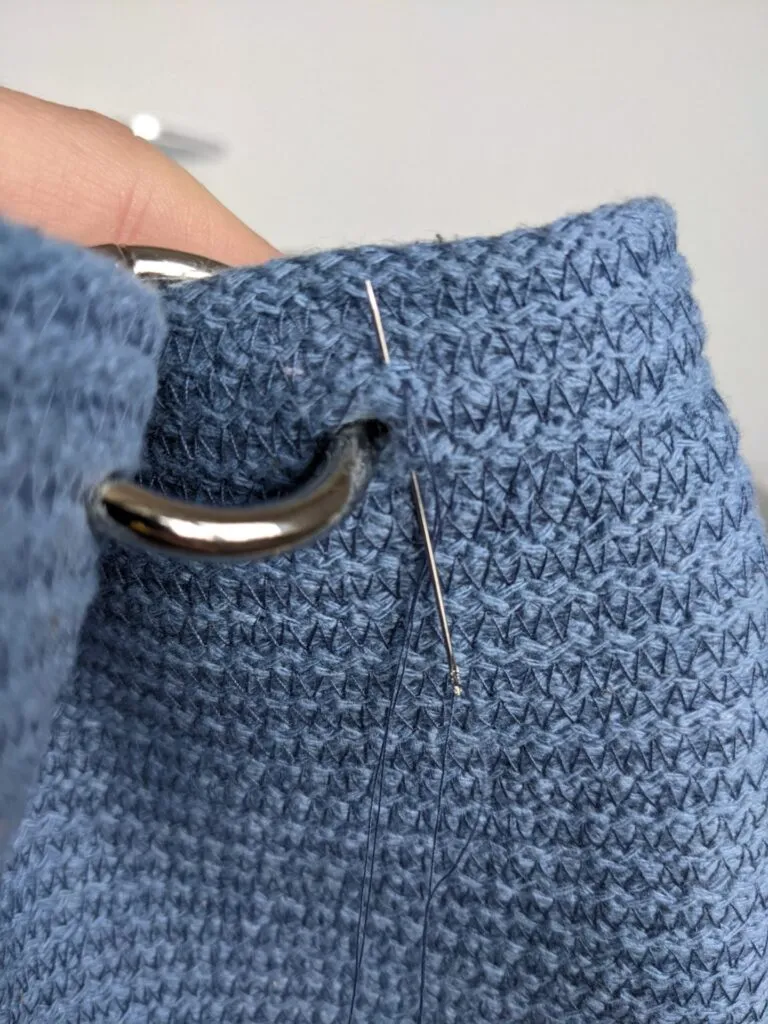
With thin scissors we make small holes for the round snap hook and thread both rings through as shown in the photos. To finish, we also sew on a leather tag. (We recommend sewing it on before threading the rings. We did it the other way round and then the sewing was a little harder ;)) Since we may have torn some threads while threading the rings, we hand-sew all the areas around the holes so that the bag does not start to fray in these spots.
Step 6
We sew on the leather buckle and leather tag, attach the strap and we are done :)