



Sewn crossbody phone bag - tutorial
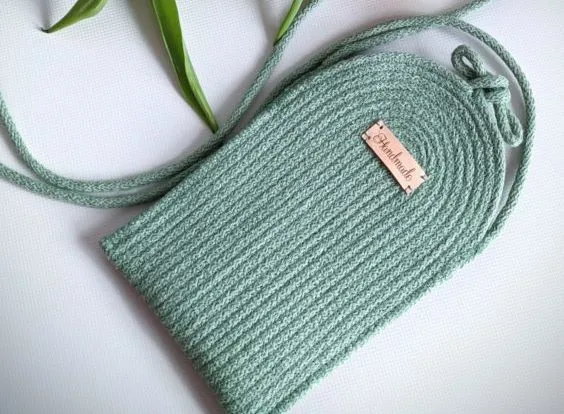
No experience yet with our sewing cords and would you like to sew a bag? This simple sewn crossbody phone bag could be a great choice. For our bag we will need: se
No experience yet with our sewing cords and would you like to sew a bag? This simple sewn crossbody phone bag could be a great choice.
For our bag we will need:
a sewing machine with a zig-zag stitch
scissors, needle, tape measure
6mm extra strong sewing cord BIGcord
sewing thread
2 carabiners/leather tag/button.
Sewn crossbody phone bag no.1
The first tutorial is simpler. We made the strap from a single layer of cord. You will find the whole process along with a description in the following video =>
.
Bag no.2 - you will find the video tutorial with a description =>
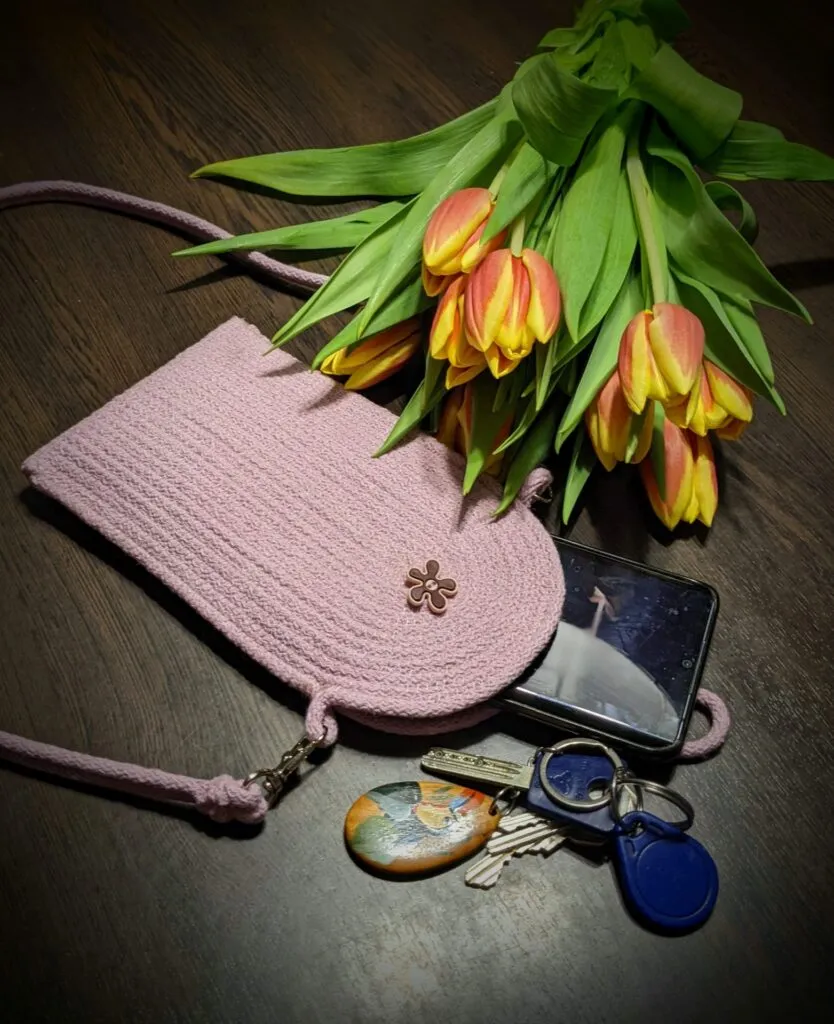
The second option is a little more complicated. We sewed the strap from two layers of sewing cord and from 2 carabiners.
In the following video we will also show how to calculate the length of the center of the oval, which is the basis of the whole bag. That is, at how many cm of cord we should start sewing with a zig-zag.
The basis is an idea, or rather a pattern of the bag, which tells us how big an oval we need to achieve in the end. We measure the length and width of the oval. We calculate our starting point as the difference between the length and the width. It won't be exact to the millimeter, of course, but as an approximate dimension it is sufficient.
You can use the same formula for oval baskets, bread baskets or beach bags, whose bottom is also sewn from an oval.
Which version you choose is entirely up to you :)
We hope you like our tutorials and for more inspiration follow us on our FB and IG.